Bird boxes are simple to make and provide birds with a safe home. We’ll discuss how to make a bird box for your yard and share some easy customizations. Let’s go.
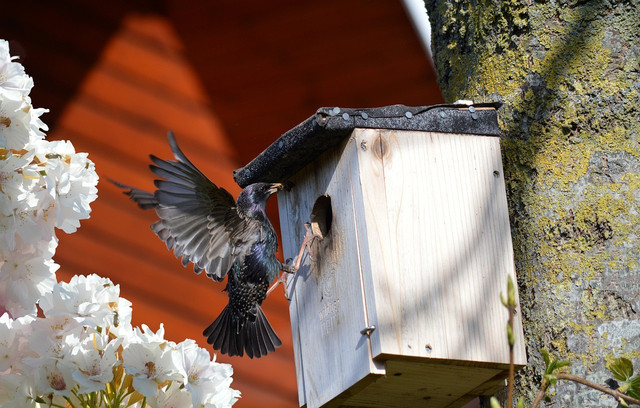
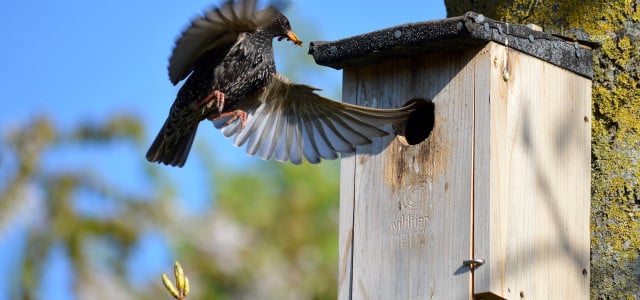
Birds build nests with twigs, feathers, and leaves before the spring, so they have a safe place to lay their eggs and raise their chicks. Nests can be located in trees, bushes, hedges, or reedbeds, depending on the species of bird. But with increasing urbanization, it can sometimes be hard for birds to find a suitable place to start building a nest.
That’s where you come in. Give birds in your yard a helping hand by providing them with a comfortable, warm bird box where they can build their nests and safely raise their young. You don’t need to be a DIY enthusiast to build a bird box — it’s pretty straightforward, and only basic tools are needed. We recommend using FSC-certified wood as it comes from forests that are managed sustainably. To encourage birds to come into your yard, start putting food out for them in the winter, such as homemade suet. Be sure to skip leaving crumbs for them, however, since bread is bad for birds.
We’ll explain how to make a bird box in a few simple steps and give you some ideas for fun customizations.
How to Make a Bird Box

(Foto: CC0 / Pixabay / neelam279)
Equipment:
- A plank of FSC, untreated wood 5 1/2 inches wide, 3/4 inches thick and 5 feet long (oak, beech or cedar are good options)
- Pencil and tape measure
- Saw
- Drill
- Optional: a hole saw/cutter for making 3.2cm holes
- 20 nails
- A strip of waterproof rubber 5.9 ” x 4.7 “
- 1 long screw
Instructions:
- Take the plank of wood and measure it out using the tape measure and pencil, according to the measurements below.
- Use a saw to cut out each piece.
- Cut a hole (see sizes below) three-quarters of the way up the front panel (see photo), in the center, using a hole saw/cutter or jigsaw. Alternatively use a drill to bore holes around the circle outline and cut the circle out with a sharp craft knife or the blade from a small hack or coping saw.
- Nail the sides to the back with the slants facing down to the front of the box. Use two nails per side.
- Place the base between the sides and back piece and hammer two nails through each side to the base.
- Attach the front panel to the sides with three nails on either side and two nails to attach the front panel to the base.
- Make a rubber hinge to join the roof to the back panel. Use two nails to hammer it into the back plate. Then use two more nails to attach the top of the roof to the edge of the remaining long edge of the rubber hinge, ensuring it is close enough so that the roof rests on the side panels without any gaps.
- Drill a hole in the back plate, above the rubber hinge, using a 1/4-inch inch drill bit. This hole will be used to hang the bird box.
- Customize your box as desired (see next section).
Measurements:
- Side 1 — 10.25 ” x 5 1/2 ” x 9.25 ” x 5 1/2″ (slanted at the top from long to short side)
- Side 2 — 9.25 ” x 5 1/2 ” x 10.25 ” x 5 1/2 ” (slanted at the top from long to short side)
- Front — 9.25 ” x 5 1/2 ” x 9. 25 ” x 5 1/2 “
- Back — 15 ” x 5 1/2 ” x 15 ” x 5 1/2 “
- Base — 4 ” x 5 1/2 ” x 4 ” x 5 1/2 “
- Roof — 7.5 ” x 5 1/2 ” x 7.5 ” x 5 1/2 “
Hole sizes:
The size of the hole in the bird box will determine what kinds of birds it attracts. Choose from the following diameters:
- Eastern Bluebird — 1 1/2 inches
- House Finch — 2 inches
- House Wren — 1 1/4 inches
- Purple Martin — 2 1/2 inches
- Tree Swallow — 1 3/8 inches
How to Customize Your Bird Box


(Foto: CC0 / Pixabay / TheOtherKev)
After your bird box is finished it is ready to hang. The wood doesn’t need to be painted, but doing so will extend its life. Simply choose a water-based latex paint (available on Amazon**) or an eco-friendly paint (available on Amazon**). Be sure to avoid lead-based paint or creosote which can be toxic to birds, and avoid gloss paints. Paint the outside of the box only and don’t paint inside the entrance hole. Let the box dry for a few days before hanging.
There are two customization options to choose from:
- Natural colors — Use muted, light colors such as brown, gray, or green, or choose the same color as the place it will hang, which will provide some camouflage.
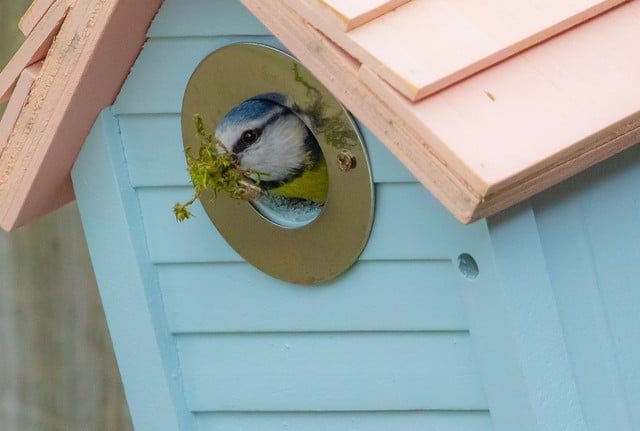
- Bright colors — Birds are good at making nests everywhere, so if you want something a bit brighter, feel free to use any light, bright colors and decorate the outside of the box as you wish with pictures, patterns or blocks of color. Birds will be attracted to the box itself rather than the color.
Where and How to Hang Your Bird Box


(Foto: CC0 / Pixabay / TanteLoe)
The positioning of the bird box is important to avoid disturbance from predators. Follow these tips to hang your bird box:
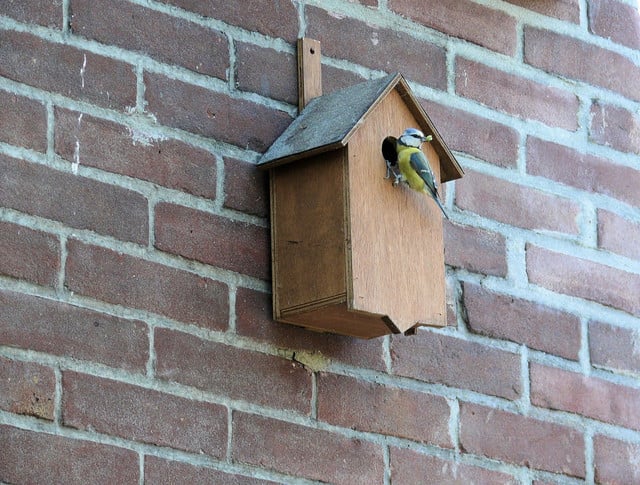
- Choose a location that is inaccessible to predators, such as high on the wall of the house, or on a tree. It should be at least 10 feet above the ground and out of direct sunlight, facing somewhere between north and east. Avoid areas that people pass under frequently, like a doorway or footpath.
- Use the drill to screw the box to the wall or tree. Place the screw in the hole in the back plate, and use the drill to fasten it to the wall or tree, ensuring it is screwed tightly so that the bird box doesn’t move.
Read more:
- What to Do If You Find a Baby Bird: How to Help
- Water for Birds: Helping Refresh Our Feathered Friends
- How to Stop Birds from Flying into Your Window
Do you like this post?


