Making a DIY butterfly feeder is simple and cost effective. It’s also a great way to attract butterflies to your garden, bringing more color and beauty to your outdoor space.
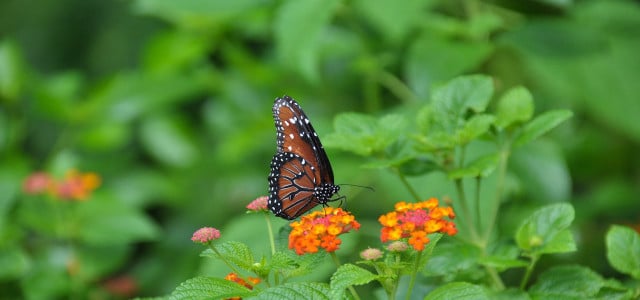
Butterflies are a visual delight to have in your garden. Their bold colors and beautifully patterned wings make for hours of entertainment for the entire family. Beauty aside, they are also essential pollinators for flowers and plants. By making a DIY butterfly feeder, you can provide a much needed food source for hungry these insects, and they will help your garden thrive in return.
Homemade Butterfly Nectar
You can feed butterflies with a homemade nectar recipe made from just two ingredients: sugar and water. For this simple recipe of homemade butterfly food, you will need to:
- Put a large saucepan on the stove, and add one part granulated sugar to four parts water. Mix to combine.
- Bring the mixture to the boil, stirring every now and again, carefully.
- When the sugar has completely dissolved, take the saucepan off the heat and set aside to cool.
- Your butterfly food is now ready to be added to your DIY butterfly feeder, and will help to attract butterflies to your garden!
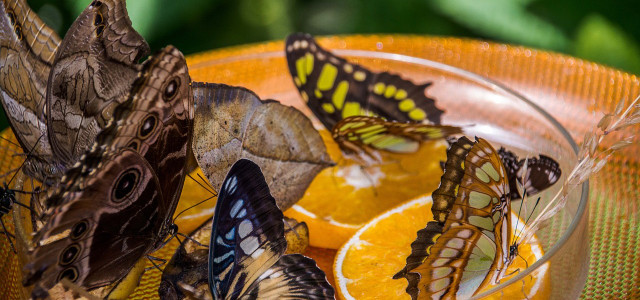
If you prefer, you can also use pieces of fruit like bananas, apples, pears, and citrus to feed butterflies.
When to Build a DIY Butterfly Feeder


(Foto: CC0 / Pixabay / huems04)
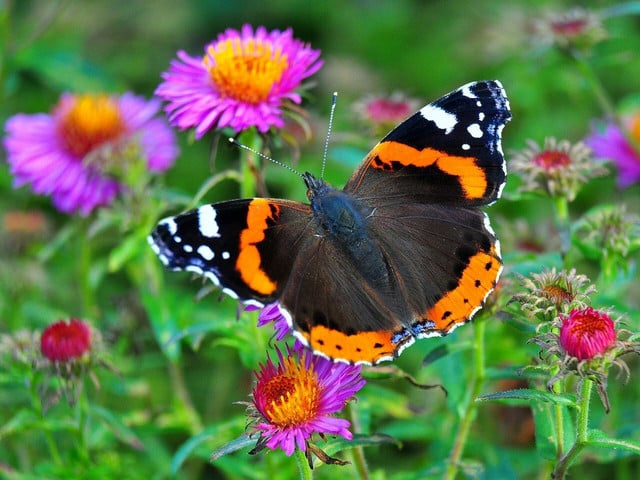
Peak butterfly season is during the height of summer. Hanging your DIY butterfly feeder over the summer season is sure to have your garden buzzing with these beautifully colorful, winged insects.
However, butterflies are active from spring, into early fall, and they always welcome an additional food source. Since they play an important role in the pollination of your garden plants, it’s a good idea to hang up your DIY butterfly feeder in early spring. You should also keep it out until late fall, to ensure that the insects are getting enough energy to hibernate or migrate for the winter.
1. DIY Mason Jar Butterfly Feeder
What you’ll need:
- An old mason jar with a lid
- Some string or twine
- Sponge
- Hammer and nail
DIY Butterfly Feeder Instructions:
- Make a small hole in the center of the lid using the hammer and nail.
- Cut a half-inch long strip from your sponge and thread this through the hole in the lid. Thread the sponge until it is halfway through. Don’t worry if this is a bit of a squeeze, you want it to be as tight a fit as possible.
- Decorate your jar. Try painting or sticking on bright and bold flowers to attract the butterflies as much as possible.
- Tie a piece of string around the neck of the jar. Cut two additional pieces of 2-inch long string. Tie each piece to the string around the neck of the jar at opposite ends. Loop the other ends of the pieces of string to the opposite sides of the neck of the jar. Now use another piece of string to tie the two loops together where they cross each other to create a hanger.
- Once your homemade butterfly food is cool, fill your mason jar with it. Screw the lid on tightly. To test your DIY butterfly feeder, stand over the sink and turn your feeder upside down. If the homemade butterfly nectar does not leak out after hanging for a few seconds, it’s ready! (Note: If it does start to leak, remove the sponge and replace it with a larger strip of sponge).
2. DIY Butterfly Feeder Plate


(Foto: CC0 / Pixabay / minka2507)
What you’ll need for your DIY Butterfly Feeder Plate :
- An old plate (preferably a deep plate that has lots of colors and decoration on it)
- Some string or twine
Instructions:
- Cut two long pieces of twine the same length. Place them down on a flat surface and cross them over one another to make a large ‘X’. At the center of the ‘X’, make a tight knot with the two pieces of string.
- Place your plate on top of the knot, making sure the knot is in the center of the underside of the plate.
- Join the four ends of the strings together above the plate and attach them securely with a knot.
- Your DIY plate butterfly feeder is now ready to be hung up in your garden!
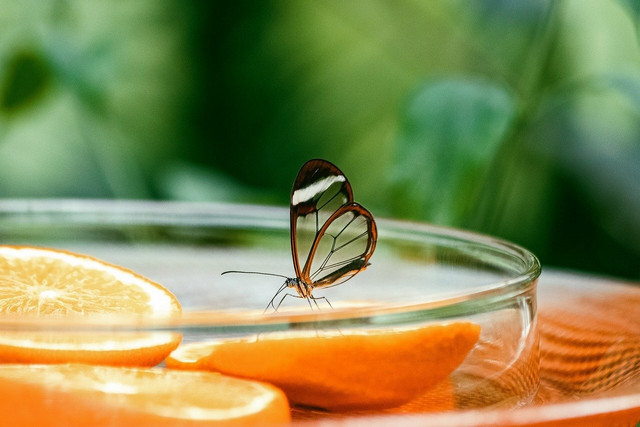
Tip: Add your homemade butterfly nectar to the plate once it is hanging to avoid spilling, or add slices of fresh fruit for the butterflies to feast on.
3. Upcycled Tin Can Butterfly Feeder


(Foto: CC0 / Pixabay / Desha)
What you’ll need:
- An old tin can
- Some twine or string
- Sponge
- Hammer and nail
Instructions:
- Around the top rim of your tin can, carefully make four holes using a hammer and a nail at quarterly intervals around the rim.
- Cut four equally sized pieces of string. Feed one end of each piece of string through the holes, making a knot at the end so that the string does not come loose from the hole.
- Attach the four other ends of the string together above the tin can with a tight knot.
- Soak a large sponge with your homemade butterfly food.
- Decorate your tin can with paint, stickers and gems. Why not also add real flowers into the can itself to make it an even more attractive feeder for the butterflies!
- Place the soaked sponge in the tin can, letting some of the sponge poke out of the top.
- Your DIY tin can butterfly feeder is now ready to be hung in your garden.
Read more:
- The 12 Best Plants to Naturally Repel Mosquitoes
- Homemade Suet for Birds: Easy Birdfood Recipe
- 10 Beautiful Autumn Flowers That Bloom in Fall
Do you like this post?


