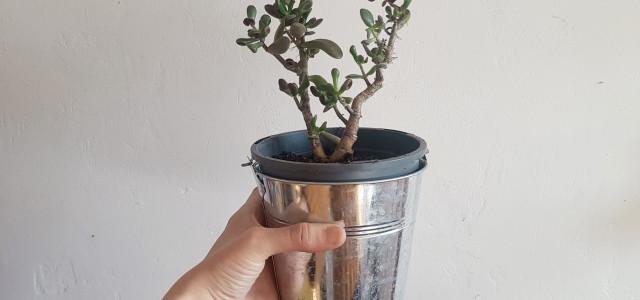
Wondering how to repot succulents? It's an essential part of owning potted plants. Though it may seem intimidating for a succulent novice, it's actually quite easy. These basic instructions will help.
As with all plants, repotting succulents is necessary when the soil has either been nutritionally exhausted or has lost its physical texture. Young plants in particular may require a change in soil every year. As soil ages, its open texture usually deteriorates, which interferes with the essential aeration of the root area of the plant.
Signs You Need to Repot Your Succulents
(Foto: Utopia / Annie Granger )
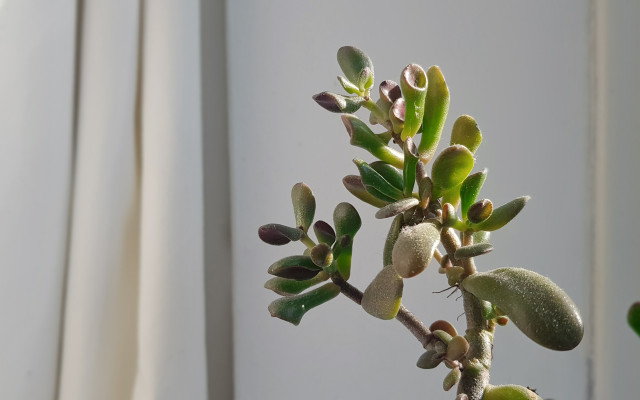
If your succulent looks unhappy, but you aren’t sure why, this may be caused by one of the following reasons:
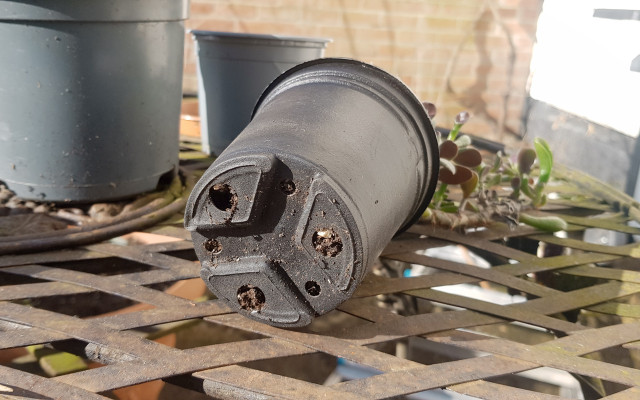
- There are more roots than soil. This may seem fairly evident, but it’s a good idea to regularly give the root system of your plant a quick check-up. You may not even need to remove the pot, as often roots will make their way through the drainage holes when there’s no where left for them to go.
- Your succulent is top-heavy. When all the crucial nutrients from the soil have been consumed by your succulent, you may notice that the soil end seems a tad too light. It may also be that your plant is naturally top-heavy, so remember to take this into account as well when making your assessments.
- Withered leaves and unusually droopy stems despite following care advice. These are the two key signs of an unhappy succulent, repotting with fresh soil should give your green friend back some pep.
- Cessation of growth. Although succulents do have a growing season, after a year or two of seeing no fresh growth on your plant, you should be concerned. Without nutritional soil, your plant can’t keep thriving.
- Water drains out of the soil too fast and doesn’t soak in. This is another sure sign that your succulent has too many roots and not enough soil to retain and store moisture.
- Constantly damp soil. While there are many signs of overwatering, damp soil is the most common. If this is the case, your plant won’t have enough space to breathe within its own soil and may be drowning.
Succulent Soil: How to Make Your Own
Succulents want a fast draining soil in order to stay healthy and happy. While you can find ready-made succulent soil in most gardening stores, it’s just as easy to make your own. All you need is 1 part soil and 1 part mineral material.
The soil can be any regular potting soil or compost. There are a few more options for the mineral component, you can use sand, gravel, pumice or perlite, or a combination of a few of these! However, if you are using sand, make sure you are NOT using beach sand, as the salt content will be extremely damaging to your succulent’s root system.
Combine, and you’re ready to get repotting!
How to Repot Your Succulents


(Foto: Utopia / Annie Granger )
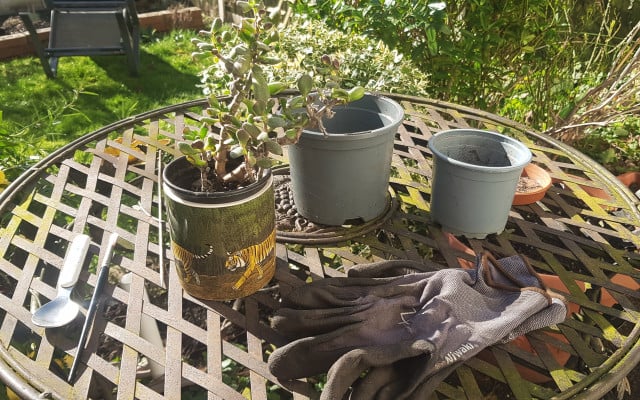
What You Will Need:
- Gardening gloves
- Old soft bristled paint brush
- Slightly larger plant pot
- Succulent soil
- A spoon
1. Prepare the Plant


(Foto: Utopia / Annie Granger )
Put on your gardening gloves and lay the succulent on its side.
TIP: If you accidentally knock off any of the leaves from your succulent during this process, don’t despair! Take this opportunity to propagate some new succulents from your old one!
2. Take Your Succulent Out of the Pot
Now it’s time to coax the succulent out of the pot. You can do this by gently pressing the sides of the pot, or by pushing through the drainage holes using the pointy end of the paintbrush.
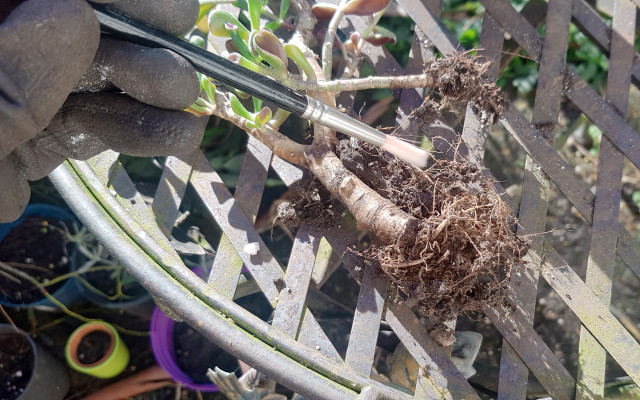
3. Remove Excess Soil from Roots


(Foto: Utopia / Annie Granger )
Gently remove as much of the old soil as possible using your fingers and paintbrush. In the example photos, there are actually two baby succulents in the same pot as the mother plant! If this is also the case for you, take this chance to repot the babies in their own smaller pots at the same time.
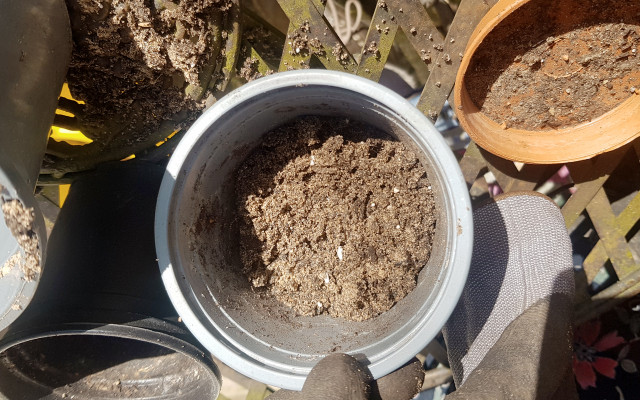
4. Prepare the New Pot


(Foto: Utopia / Annie Granger )
In order to get the new pot ready for your succulent, you’ll need to add a base layer of soil to the bottom. Don’t add a layer of gravel to the bottom of your pot – it is a myth that this helps with drainage and can be more damaging to your plant in the long term. If you’re using a succulent soil, this will provide your plant with more than enough drainage.
5. Place Your Succulent in the New Pot
Hold the succulent at the desired height in the new pot. We recommend having the neck of the plant (where the stems/leaves meet the root system) about a finger’s width below the rim.
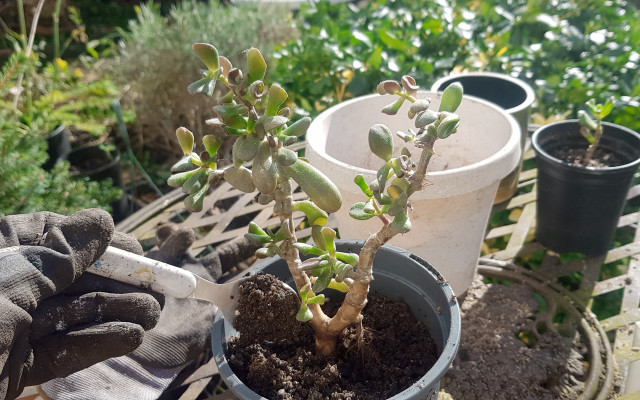
6. Add More Soil


(Foto: Utopia / Annie Granger )
Spoon new soil over the roots to help support the succulent. Keep filling until the pot is nearly full, leaving approximately half an inch to the top of the pot.
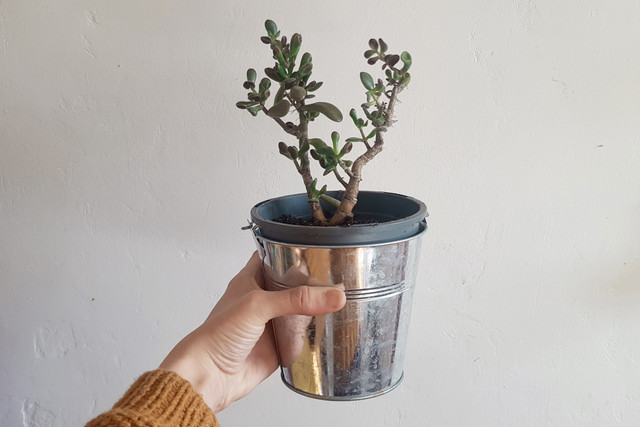
7. Settle the Soil


(Foto: Utopia / Annie Granger )
Tap the sides and the bottom to even out and settle the soil. Once the soil is settled evenly, it should be no higher than 10 mm below the rim.
And that’s how you repot succulents!
Tip: many people like to add a layer of grit to the top of their plants as extra decoration, while also claiming that it helps keep the soil moist. While this is certainly true, this practice should be avoided if you are living anywhere that doesn’t have an extremely arid climate. Keeping soil overly moist otherwise is just a recipe for moldy plant soil.
Repotting Succulents: Tips & Tricks
Repotting should be done a minimum of 2 weeks before your succulent’s growing season. This is to give it enough time before it begins trying to produce new leaves and off shoots. As a general rule, the growing season for most succulents is between May and August, however, we would strongly recommend taking the time to research what type of succulent you have to find out more about its life cycle.
After repotting, you should wait at least two weeks before watering again. If you’re using a compost mix as your soil, there will be more than enough moisture in this to sustain your succulent while it heals and recovers from its move.
Repotting vs Potting On
Repotting is a stressful process, even for the hardy succulent, and should only be done when the plant really needs it. However, succulents can quickly outgrow their pots and often do require upsizing. If this is the case, and your plant is healthy, consider potting on instead of repotting.
Potting on is a similar process to repotting, however you simply leave the soil around the roots intact and place the whole plant in a slightly larger pot with more soil and space to grow. This can be done as frequently as you feel necessary and at any point in the year, as it does not put nearly as much stress on the root system as repotting.
Key Things to Remember:
- The best time to repot is just before the succulent starts its growing season – in the early spring.
- If a succulent is happy, healthy, and growing, there is no need to stress it out by repotting.
- Wait two weeks after repotting to water.
Read on:
- How to Get Rid of Poison Ivy Plants: 4 Natural Ways
- How to Grow and Harvest Basil: Keeping Kitchen Herbs Fresh
- How To Not Kill Your Houseplants: 10 Practical Tips
Do you like this post?


