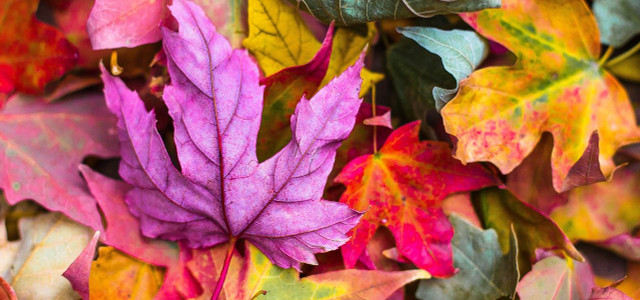
Pressing leaves is very easy—and a fun project for kids of all ages. Especially colorful fall leaves are ideal for decorating and for arts and crafts. We will show you how to preserve the color of the leaves during drying and pressing.
In the fall, the leaves of deciduous trees are set ablaze, showing off their most beautiful colors. You can preserve those stunning colors by pressing and drying the leaves. You can use them to decorate your home or for other arts and crafts projects.
Fresh leaves are preserved by removing their oxygen and moisture. There are many different methods to dry leaves. You can, of course, let them air dry in a warm room. However, this method often results in a loss of color, and the leaves curl as they dry.
We will show you two simple methods of pressing and drying leaves, both of which will preserve their color and flat shape:
- Pressing leaves in a book: The weight of the book flattens the leaves and they dry out. Once they are between the pages of the book, no sunlight reaches the leaves—the lack of sunlight allows the leaves to keep their color.
- Drying (and then pressing) leaves with silica gel. You can buy silica gel in most craft stores and can reuse it.
Below, we’ll explain how to press leaves using both the book and the silica gel method.
General Tips for Pressing and Drying Leaves
Before you start, here are a few basic tips for how to press leaves:
- Use the best leaves you can find: avoid those with rips, holes, scratches, or other damage.
- Do not use leaves that are damp or wet from dew, frost, or rain or else the leaves may start to get moldy before they finish drying.
- Regardless of which method you choose: always make sure that the leaves are not piled directly on top of each other.
- Absorbent material like a newspaper or paper towel helps the drying process by absorbing moisture, so it is best to place it both above and below the leaves.
Pressing Leaves: The Book Method
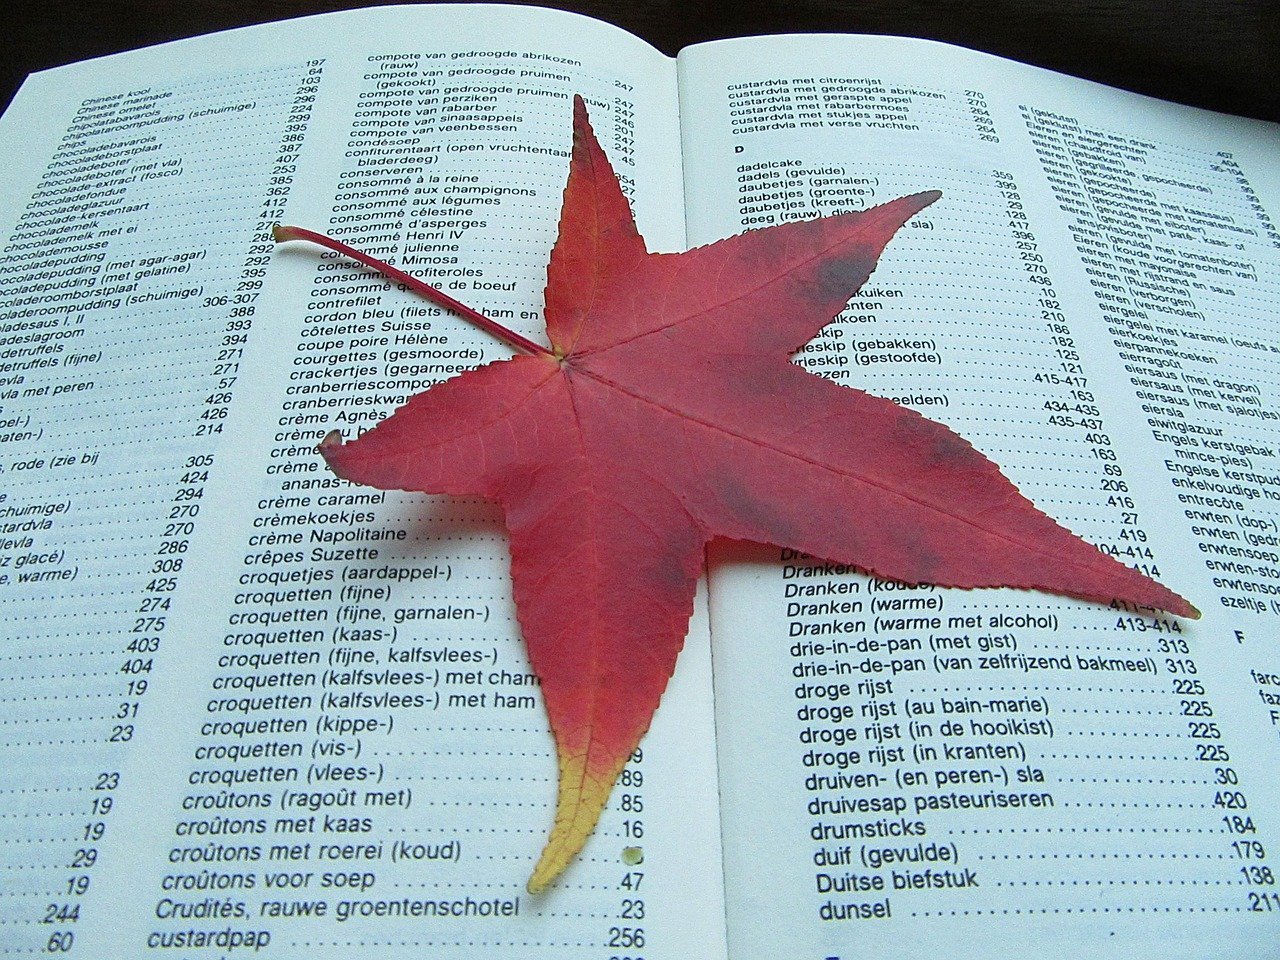

How to press leaves with books:
- Open the book to the middle and lay out one sheet of double-layered newspaper.
- Place the leaves on the newspaper. Make sure that they do not overlap. Tip: Place the leaves in the middle of the page and not at the edges, so that they are pressed evenly.
- Place two more layers of newspaper on top of the leaves.
- Close the book carefully and put it in a dry place.
- Weigh the book down with more books.
It will take between two and six weeks until the leaves are pressed and dried. Check them regularly, replacing the newspaper if it has become damp.
Drying Leaves With the Silica Gel Method


Silica gel is another great way to dry leaves and preserve their colors. This is widely available in craft stores or from florists as either powder or gel.
Note: This method is best for those who plan on using it often, as silica gel is a bit of an investment. In total it will take two to three weeks until the leaves are dry. Pressing the leaves will require an extra step after.
You will need:
- Undamaged colorful leaves
- Silica gel
- Airtight container
Drying leaves with Silica Gel:
- Pour a layer of silica gel on the bottom of an airtight container.
- Place the leaves on this layer without them overlapping.
- Pour another layer of silica gel over it.
- Repeat this layer by layer for all leaves.
- Make sure that the leaves are completely covered with silica gel.
Over the course of the drying period, the gel changes its color: As it absorbs moisture, it becomes either blue-grey or pinkish-grey. Drying is complete when the leaves are crisp, but not brittle.
Tip: Dry the silica gel in the oven after use, store in an airtight container, and reuse it. By the way, the silica gel packets that often come in boxes of goods that need to stay dry can be reused creatively, as well: check out the seven surprising uses for silica gel we’ve compiled.
Pressing Dried Leaves
Since each leaf is under a layer of silica gel, the leaves are pressed a little bit while drying. But they do not become as smooth as with the book method. If you want smooth leaves, follow these steps:
- Take the leaves out of the silica gel after a week or so.
- Press the dried leaves between the pages of a book.
- As there is less moisture, pressing the leaves does not take as long. Check them after a few days to see if all your leaves are dry and smooth.
Did you know that some of these methods also work for drying other plants and flowers? Learn more about how to dry roses, how to dry eucalyptus, or how to preserve flowers by drying.
How to Use Pressed Leaves
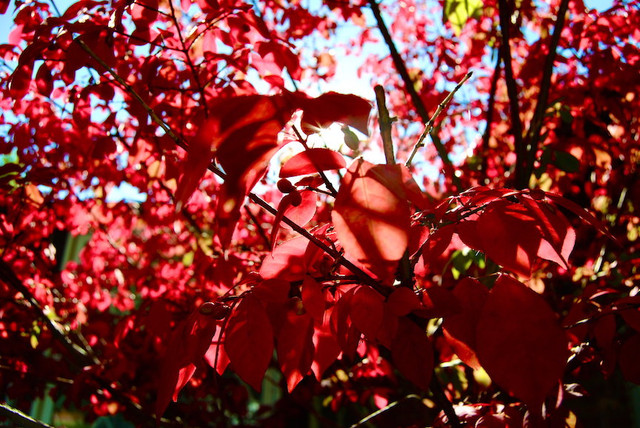


Pressing leaves or even just drying them is a nice way to capture fall—especially if the bright colors are preserved. You can use the pressed leaves for all kinds of arts and crafts: how about creating a fall picture frame, sticking them to your walls, designing greeting cards, or using them as a nice addition to gift wrapping? Unleash your creative side!
This article was translated from German to English by Karen Stankiewicz. You can read the original here: Blätter pressen und trocknen: So behalten sie ihre Farbe
** Links to retailers marked with ** or underlined orange are partially partner links: If you buy here, you actively support Utopia.org, because we will receive a small part of the sales proceeds. More info.Do you like this post?


