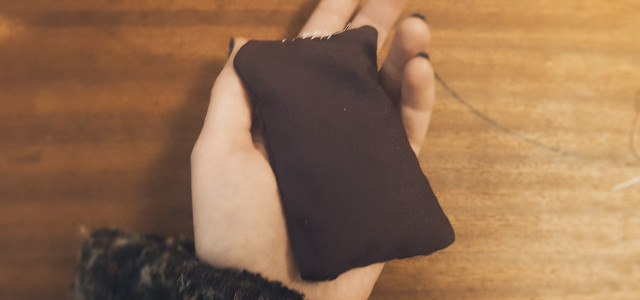
You don't need to use warming pads with potentially harmful substances to heat your chilly fingers in the winter. Follow this simple tutorial to make your own DIY hand warmers in the afternoon — no sewing machine required.
Have you got a bit of time on your hands to…warm your hands? This easy little project is a great eco-friendly gift for yourself or a loved one and requires very few materials, most of which you can likely find around your home. We’ll show you step-by-step instructions so you can make DIY hand warmers at home.
How to Make DIY Hand Warmers
In order to make DIY hand warmers, you’ll need to gather the following equipment:
- tape measure or ruler
- sharp scissors
- dress-making pins or safety pins
- 5 x 15-20 inch scrap fabric
- washable marker or chalk
- sewing needle and thread
- funnel
- approximately half a cup of plain dried rice
“Scrap fabric” can be anything from the offcuts of an old project if you’re a regular sewer or just part of an old and unwanted pillow case or t-shirt if you’ve never really sewed before. Always have a look around your home for materials you can source there before going out and buying anything new for this project. Reusing what you already have is one of the main ideas behind frugal living.
If you don’t have a needle and thread lying about, most towns and cities will have a haberdashery shop where you can find quality equipment that can last you a lifetime. However, at a pinch, most grocery store chains will have a small section dedicated to home-mending and crafting.
1. Lay Out the Fabric


(Foto: Utopia / Annie Granger )
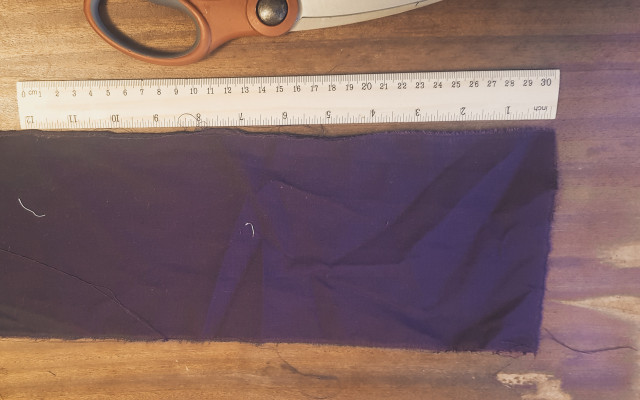
On a clean, flat surface, lay out your fabric scrap and measure — if you take the time to iron your fabric, it will make the project much easier. If you have some rough edges, now is the time to straighten them out. You can do this simply by tracing a line and cutting or ripping along it. Your fabric piece can vary in size and length as long as you can get four equally sized square or rectangular pieces out of it. Alternatively, if you don’t mind a hodge podge style, you can gather four similarly sized fragments of different materials for your DIY hand warmers to be sewn together later.
2. Cut Into Even Pieces


(Foto: Utopia / Annie Granger )
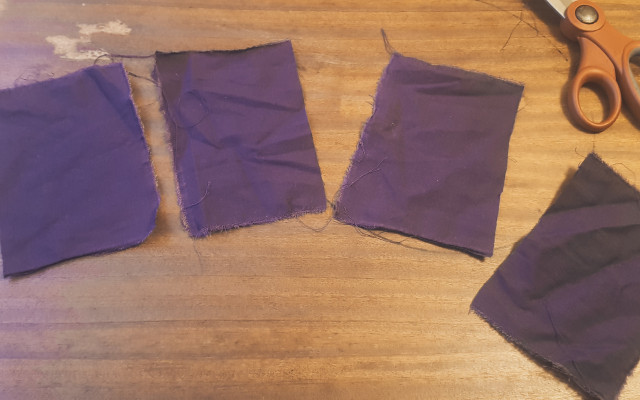
You’ll need to cut the fabric into four even pieces. An easy way to do this is to fold the strip in half lengthwise and then in half again, placing the scissors between the folds and cutting along them. If you’re using multiple scraps, you can skip this step.
3. Match And Pin


(Foto: Utopia / Annie Granger )
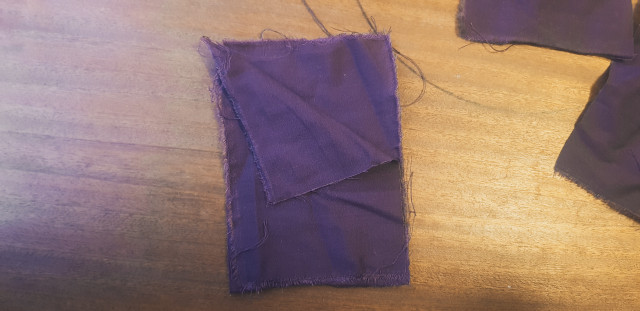
If you are using patterned fabric for your DIY hand warmers, you should place the pieces right sides together. This means the sides you want to see when your hand warmers are finished should face each other, almost like a mirror image.
4. Mark the Seam


(Foto: Utopia / Annie Granger )
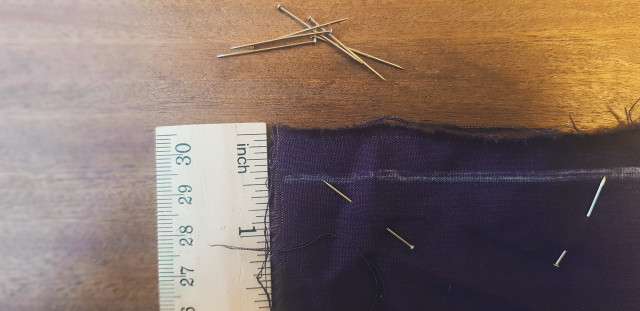
Using your washable pen or chalk, mark about a half inch inside from the edge of the fabric along all sides. This is where your seam will go.
5. Leave an Opening


(Foto: Utopia / Annie Granger )
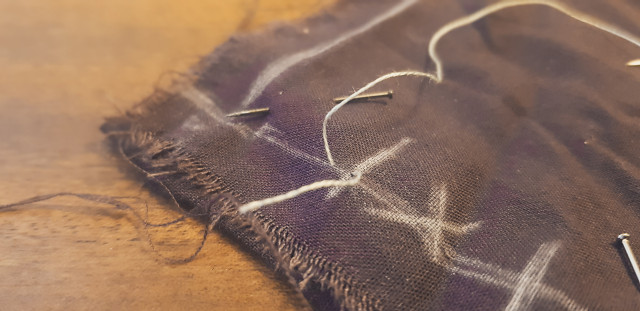
On any one of the four sides, mark off a roughly 1-inch gap where you will NOT sew. This gap will be used later on to fill the DIY hand warmer with rice. Insert your needle and thread on one of the sides of this gap and back up. Tie the end of the thread off in a small knot.
Tip: When threading your needle, don’t use a length of a thread any longer than the length of your arm. Any longer, and the thread is much more likely to get accidentally knotted on itself.
6. Sew Along the Marked Line


(Foto: Utopia / Annie Granger )
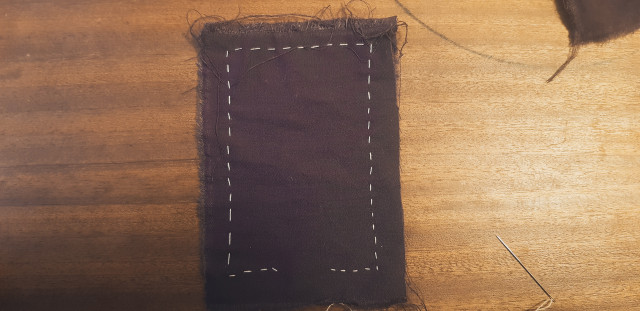
Sew along the edge until you reach the other side of the gap. Do NOT sew over the gap! The stitch used here in the example is a basting stitch, and it’s just about the most basic stitch you can do. It’s not particularly sturdy, but for this small project, it is more than adequate.
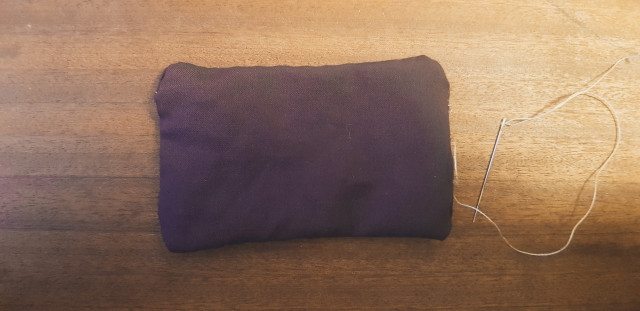
7. Turn Inside Out


(Foto: Utopia / Annie Granger )
Leaving the thread attached, turn the pouch inside out using the 1-inch gap from earlier.
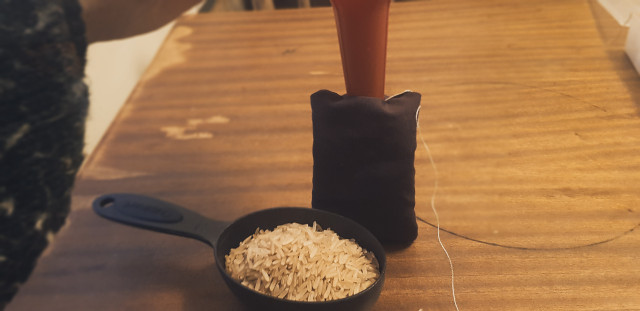
8. Fill With Rice


(Foto: Utopia / Annie Granger )
About a ¼ cup should fit inside your DIY hand warmer, but if you have too much or too little, don’t worry. You want the bag to be just full enough that you can’t easily feel the other side of the fabric when you pinch it, but not so full that you can’t easily shake the rice around in there.
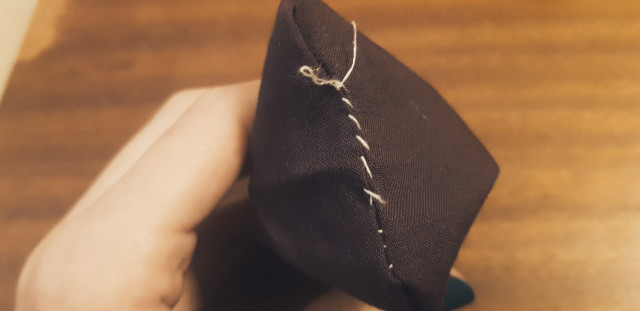
9. Stich Close


(Foto: Utopia / Annie Granger )
Using the thread you still have attached, slip-stitch the opening closed and secure it with a knot. If you don’t mind seeing the thread, use a whip stitch as we have in the example. Once you’ve completed that, it’s time to repeat the steps on the other pieces of fabric.
How to Use Your DIY Hand Warmers
To use, place your DIY hand warmers in the microwave on the lowest setting for about 10 seconds at a time until they’re as warm as you’d like them to be. Place them inside your mittens and enjoy lovely warm hands while exploring in cold weather.
Read more:
- How to Knit a Headband: A Beginners’ Guide
- The 10 Best National Parks to Visit in Winter
- How to Keep Your Feet Warm this Winter: 8 Tips
Important Information regarding Health-related Topics.
** Links to retailers marked with ** or underlined orange are partially partner links: If you buy here, you actively support Utopia.org, because we will receive a small part of the sales proceeds. More info.Do you like this post?


