Microgreens an easy way to dip your toe into gardening without investing much time, money or effort. Read our DIY guide on how to grow microgreens to get planting!
(Foto: CC0 / Pixabay / AKuptsova)
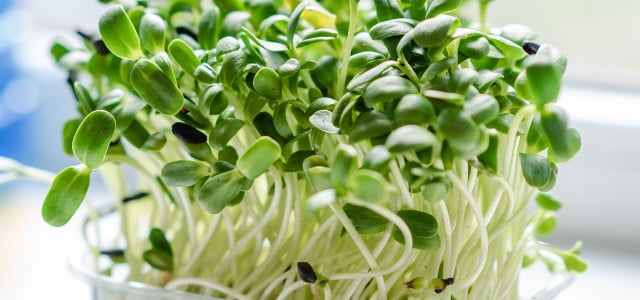
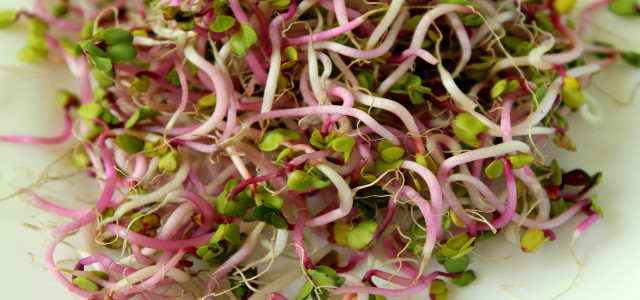
Microgreens are seedlings of vegetables and herbs. Because they are harvested and eaten in their early stages of life, microgreens are highly concentrated in nutrients, compared to their mature counterparts. Microgreens you can easily grow at home include radish, red cabbage, broccoli, mustard, beetroot, fennel, and more. They are harvested and eaten in as little as seven to fourteen days.
Microgreens vs. Sprouts


(Foto: CC0 / Pixabay / coloboque)
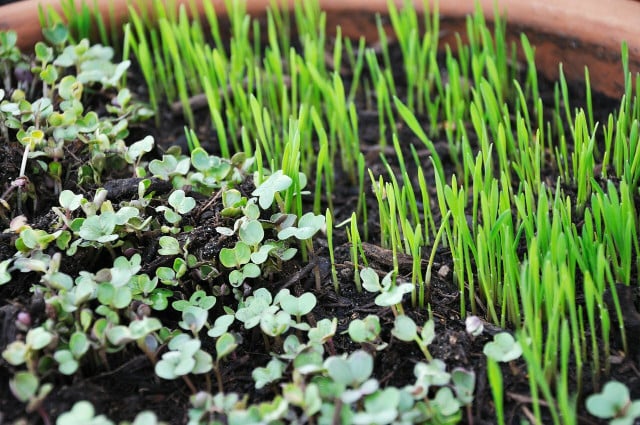
Many people think microgreens and sprouts are the same, especially at first glance. But sprouts and microgreens are different phases of plants’ lives. Sprouts are germinated seeds, whereas microgreens are the young shoots of a plant which include leaf growth. Besides their similarity in looks, microgreens and sprouts are also both inexpensive, low maintenance, and easy to grow indoors at room temperature.
However, these small plants are very different in how they are grown and cared for.
- Firstly, microgreens must be grown in soil, whereas sprouts only require water.
- Microgreens are also harvested at the soil surface, and only the stems and leaves are eaten. With sprouts, you can even eat the roots.
- Microgreens also differ from sprouts in that they require more light and ventilation.
What You Need to Grow Microgreens


(Foto: CC0 / Pixabay / Ylanite)
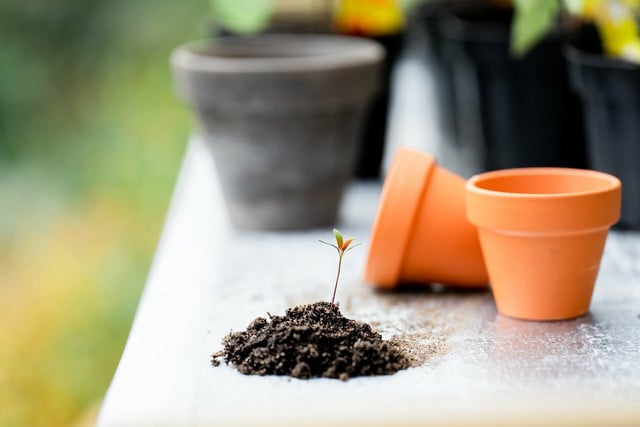
You do not need many supplies to grow microgreens. Most things you may have at home already:
- Microgreen seeds
- Plant pots or trays (even an upcycled Tupperware can be used as a pot)
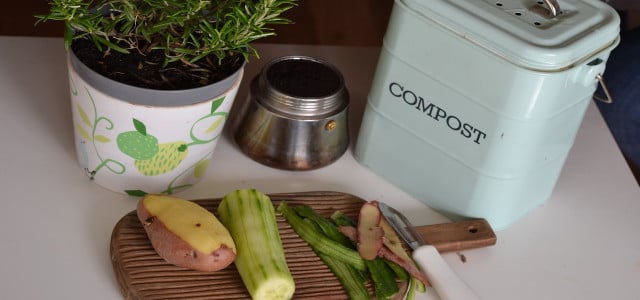
- Compost soil or organic planting soil (Compost soil is preferable as it will provide more nutrients for your microgreens to grow. It’s also super easy to compost at home)
- Small hand shovel
- Watering can or spray bottle (preferably made of sustainable materials like glass or stainless steel)
How to Grow Microgreens: Instructions


(Foto: CC0 / Pixabay / Pexels)
Grow your own microgreens by following these ten simple steps:
- Take your plant pot and fill with soil. Leave about an inch of space at the top.
- Sprinkle your seeds over the surface of the soil. If you are planting several types of microgreens, make sure to organize them into sections of the soil and label them.
- Spread a handful of soil over the seeds until they are no longer visible
- Water your microgreen seeds just enough so that the soil is moist, but not oversaturated. We recommend a mist spray bottle for even distribution, especially for small containers. Water cans work as well. Just make sure not to oversaturate the soil.
- Place your plants in a sunlit and well-ventilated spot in your home. We recommend a windowsill. If you do not get much sunlight in your home, you can use an artificial grow light. Of course, grow lights contribute to your carbon footprint so a sunny spot is best.
- Check on your little plants daily. Stick your finger about an inch down into the soil, and add water if dry. Always add just enough water to dampen the soil without saturating it too much.
- Once your seeds start growing, they may gravitate toward the sun. Rotate your container as this happens, to help your microgreens grow evenly.
- Check your specific seed instructions to see when your microgreens must be harvested. Microgreens generally grow a first set of leaves called cotyledons, and then a later set of leaves known as true leaves. Some varieties of microgreens should be harvested before they grow their true leaves, while others must be harvested afterward. Usually, microgreens are harvested when they are between 1 to 3 inches tall.
- When it is time to harvest, you can use your fingers or a pair of scissors to snip off each seedling right above the soil level.
- Enjoy your delicious microgreens!
Pro tip: If you are using a larger container, your microgreens may grow back after harvest. Some varieties of microgreens have a harder time regrowing, so you may need to plant a new batch of seeds.
Cooking with Microgreens



(Foto: CC0 / Pixabay / JayMantri)
Microgreens are packed with vitamins and antioxidants, and are best eaten raw. They can be blended in smoothies, eaten in sandwiches, stir-fries and salads, and used as garnish. Some people even use microgreens as a pizza topping! You can also experiment and add microgreens to recipes you already love! Whether you want to use your microgreens to add texture, nutrients, style or all of the above, they are super versatile. You really can’t mess up with microgreens, but if you want some inspiration then we are here for you!
Our top suggestions:
- Arugula – provides a peppery flavor which is perfect for sandwiches. We recommend adding arugula microgreens in burgers like this vegan black bean burger.
- Mustard – has some spice to it which is great for salad
- Beetroot – mild flavor and beautiful red stems, spruces up any meal
- Broccoli – mild flavor but strong in nutrients, perfect for a garnish on toast or vegan chili.
- Coriander – delicious in curry and stir-fries
- Basil – great addition to mediterranean food
Read on:
- Urban Gardening: 6 Creative Tips and Ideas for Small City Gardens
- Cauliflower: Handy Tips on How to Plant, Grow, Harvest, and Eat it
- How to Regrow Unlimited Vegetables from Scraps
Do you like this post?


