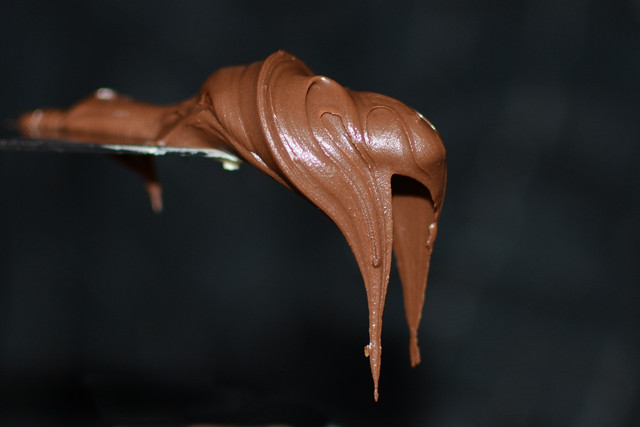
Hazelnut cream is a bona fide comfort food fave, but you don't need to grab a jar of Nutella next time you get cravings. Instead, try making your own vegan hazelnut cream at home!
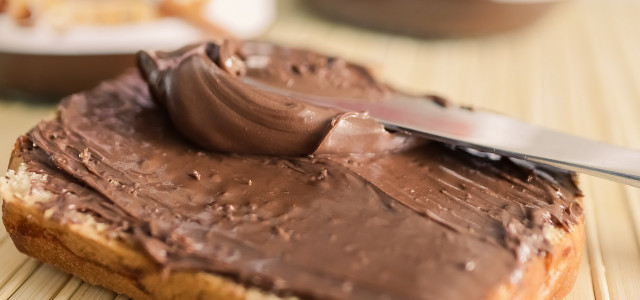
The most well-known hazelnut cream is probably Nutella. First produced in the 1920s in Italy, this sweet, chocolatey hazelnut spread has become a global favorite. Enjoyed best when spread on bread, it is also commonly used in many baking recipes and desserts, or just eaten directly from the jar using a tablespoon (don’t say you haven’t done it yourself!). However, this decadent sweet treat does have a few downsides.
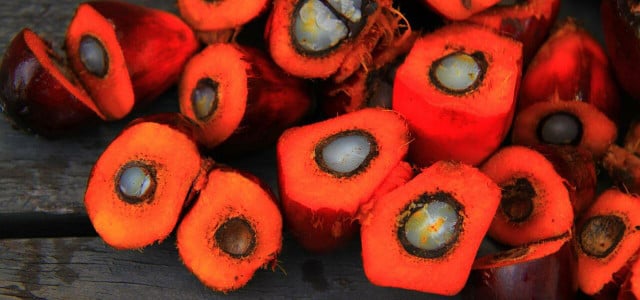
First of all, many hazelnut spreads contain palm oil, which most of us now know is pretty catastrophic for the environment. Mass production of palm oil has decimated huge tracts of delicate rainforests, which will likely never recover.
The second problem is the sheer amount of refined sugar used in making store-bought hazelnut cream. Making your own vegan hazelnut cream is the way to go; you get to decide how much sugar or sweetener to add, you can avoid using any dairy, and you get to forego the palm oil entirely with a healthier, more eco-friendly substitute.
Easy Step-By-Step Guide for Hazelnut Cream Heaven


(Foto: CC0 / Pixabay / sipa)
Ingredients
- 3 cups raw or roasted unsalted hazelnuts
- 1 tsp. vanilla extract
- 1/2 tsp. sea salt
- 2/3 cup of dairy-free dark chocolate (chopped)
Instructions
- Preheat your oven to 350℉.
- Place your unsalted hazelnuts on a baking tray, spreading them evenly in a single layer to ensure they cook through properly. If using raw hazelnuts, aim to roast them for 12 to 15 minutes for the best results. If you opt for already roasted hazelnuts, roast them for 8 to 10 minutes. This will warm up the natural oils in the nuts and loosen their skins, making them that much easier to blend into butter.
- Once done, take the hazelnuts out of the oven and allow them to cool for about 10 minutes. Lay out a large kitchen towel and pour the hazelnuts onto it. Then, using your hands, roll the nuts around enough to remove most of the skins. The more skin you remove, the better, since this will make your hazelnut cream that much creamier!
- Take your now skin-free hazelnuts and throw them into either your blender or food processor. When blending on a low setting, it should take about 10 minutes to produce your hazelnut butter. For the best results, occasionally scrape down the sides of the blender to ensure that every ounce of hazelnut is properly processed.
- Now it is time to prep your dairy-free dark chocolate. Using the stovetop on low heat or the microwave, heat your chocolate until it is melted through with an even consistency.
- Add the salt and vanilla extract to your freshly prepared, creamy hazelnut butter before blending some more. Pour in the melted dark chocolate a little at a time, and blend again until you achieve that unmistakable thick and creamy texture you want. At this point, you may want to give it a quick taste test and, if desired, add a little more vanilla extract or salt to suit.
Serve with your favored pancake or crepe recipes, generously heaped on waffles, toast, bananas, or home-baked muffins.
Pro Tips: This recipe will produce 2 to 3 cups of hazelnut cream and can be stored at room temperature. Your hazelnut cream should keep for up to three weeks. If you find that your hazelnut cream could do with a touch more sweetness, 1 to 2 tablespoons of either agave, coconut sugar, or maple syrup will work wonders.
Read more:
- Is Nutella Vegan? The Question We’ve All Been Asking
- 8 Delicious Vegan Heavy Cream Substitutes
- Cashew Cream Cheese: A Vegan Alternative
- Vegan Chocolate Mousse: Two Easy Recipes
Do you like this post?


