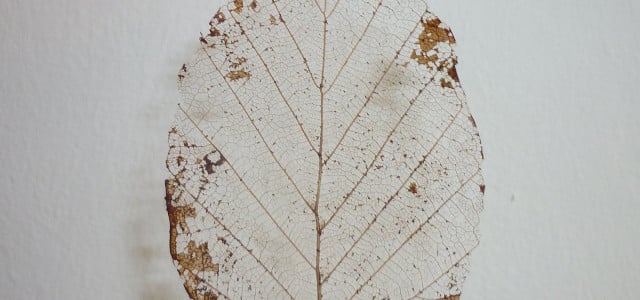
To skeletonize leaves and make a delicate and intricate ornament out of them, you only need a few supplies. Check out our guide here on how to skeletonize leaves yourself at home.
Skeleton leaves are whimsical dried leaves that make a charming arts and crafts project for nature lovers. These delicate leaves can be used as decorations, bookmarks, homemade gifts, and additions to scrapbooks. In order to skeletonize leaves, you will need patience, aspiration, and a bit of luck to get the perfect inctricate leaf. Keep reading to learn how.
Supplies Needed to Skeletonize Leaves
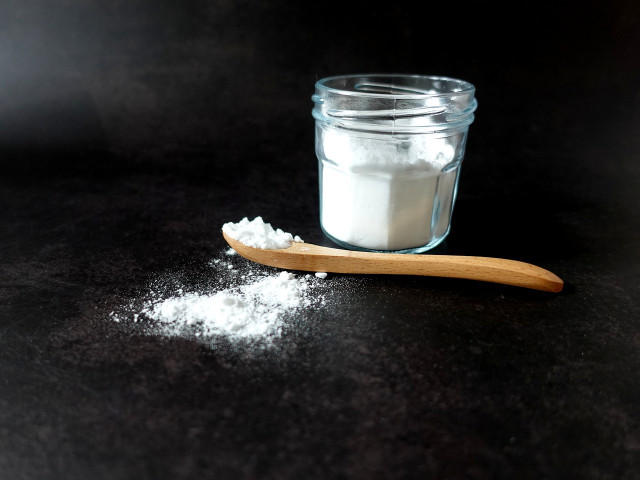


(Foto: CC0 / Pixabay / Azza_Hafizah)
- ½ cup washing soda, or sodium carbonate. You can find it in the laundry section of grocery stores.
- Leaves (Glossy leaves like those from a magnolia or gardenia work well)
- Metal pot or saucepan
- Tweezers
- Spatula or tongs
- Small paintbrush or soft toothbrush
- Rubber gloves
- Water
1. Prepare Leaves


(Foto: CC0 / Pixabay / mirkostoedter)
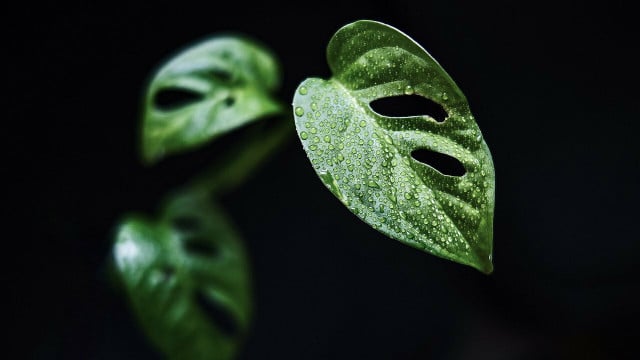
Place the leaves in a saucepan, making sure to avoid over-crowding the pot. You want to create an even layer across the bottom at the very most. The best type of leaves to work with have a waxy texture.
2. Add Washing Soda and Water


(Foto: CC0 / Pixabay / Three-shots)
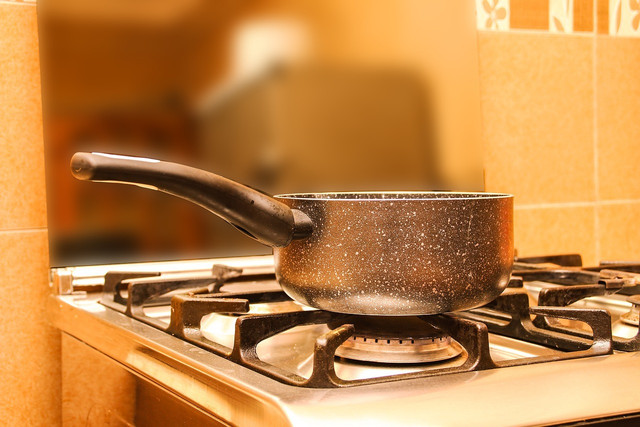
Cover the leaves with washing soda and water. You will need ½ to ¾ cups of washing soda and 4 cups of water. Give the solution a gentle stir to combine it.
3. Cook Leaves Until Soft


(Foto: CC0 / Pixabay / Republica)
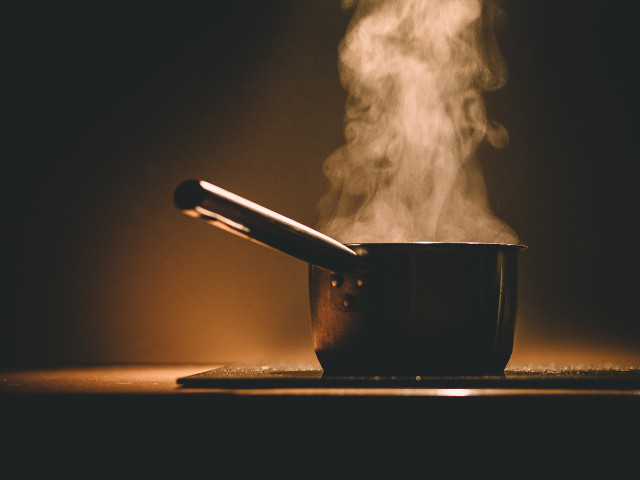
Bring the water to a boil over medium to medium-high heat first, then reduce it to a simmer. Cook the leaves until they turn soft. This can take up to 2 hours, depending on the type of leaf you are using.
Tip: The water will evaporate as it simmers. Make sure to pay attention and add more water to the pot as needed so the leaves don’t dry out.
4. Remove Leaves from Water


(Foto: CC0 / Pixabay / JoBeeOne)
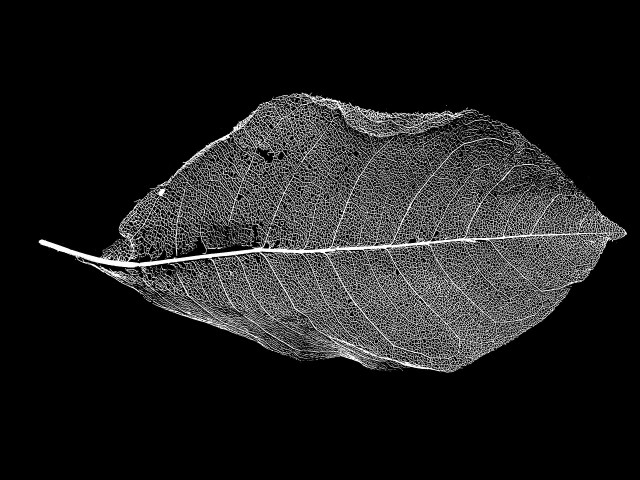
Put on a pair of rubber gloves, then use a pair of tongs or a spatula to remove the leaves from the water. If the leaves are pulpy and slimy, soak them in a container filled with lukewarm water for a few minutes.
5. Brush Pulp Away


(Foto: CC0 / Pixabay / husy)
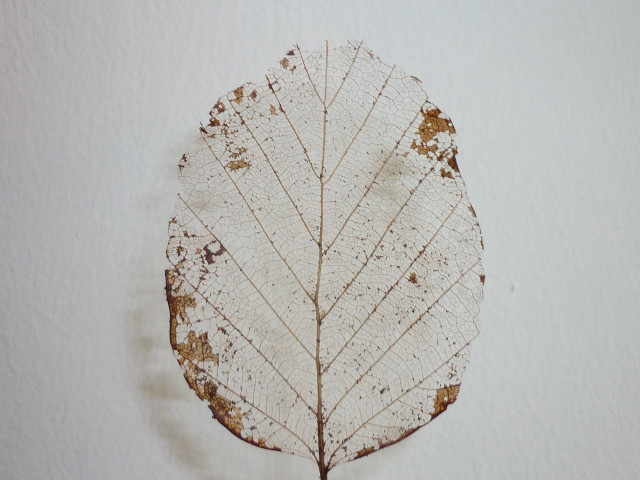
Place the leaves on a paper towel very gently with tweezers. Hold the leaves by the stem with tweezers, and use a paintbrush or a soft toothbrush to gently brush the pulp away. Turn the leaf over, and scrape the other side clean to skeletonize the leaf.
Tip: It’s best to work while the leaves are under lukewarm water. Be very gentle during this step as the leaves are incredibly fragile.
6. Rinse the Leaves in Fresh Water


(Foto: CC0 / Pixabay / 2taol)
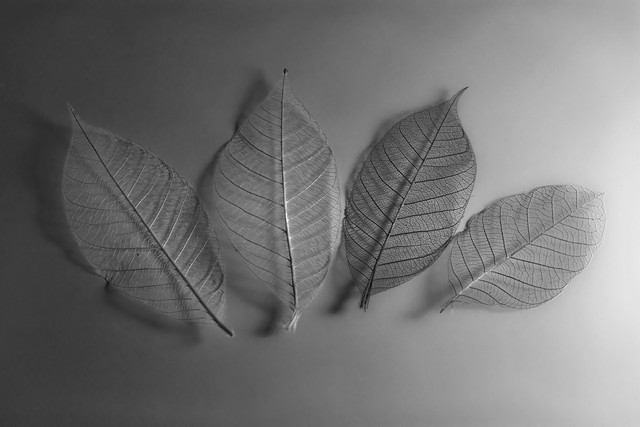
The skeletonized leaves will be very delicate at this stage, so be gentle. Fill a tub with cool to lukewarm water, and place the leaves in the water. Gently swish the leaves around, if needed. If the leaves still have residue clinging to them, change the water and repeat this step.
Tip: Don’t rinse the leaves under running water, the water pressure will be too high and damage them.
7. Allow the Skeletonized Leaves to Dry


(Foto: CC0 / Pixabay / els_G)
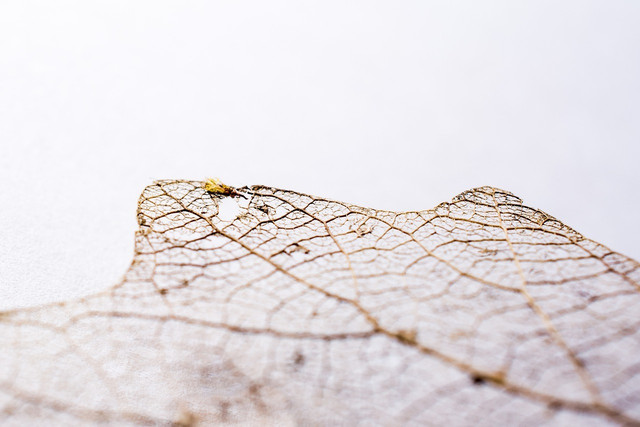
Place the leaves between two paper towels, then stack heavy books on top. The paper towels will help absorb the excess moisture while the books will help make the leaves dry flat. If you don’t do this, the leaves may curl. However, if you want curled or warped (natural) skeletonized leaves, allow them to dry on a sheet of paper towel without anything on top.
Read on:
- Raspberry Leaf Tea: Benefits and Uses During Pregnancy
- Silica Gel: 7 Surprising Uses for the Small White Packets
- All Beauty Fades? How to Preserve and Dry Roses
Do you like this post?


