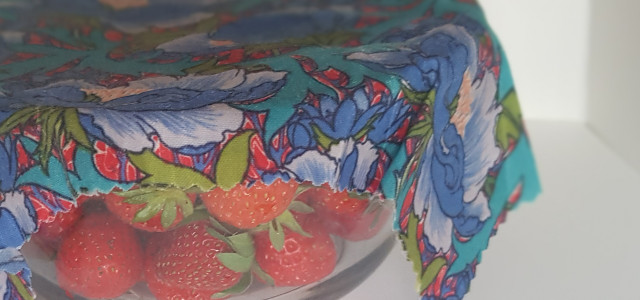
Looking for a way to use less plastic and foil when storing your leftovers? DIY beeswax wraps are the perfect choice – follow these steps to make your own.
Make your own DIY reusable beeswax food wraps and covering in less than an hour with this stylish and eco-friendly project. Perfect for anyone looking for a plastic wrap alternative and a fun way to use up their fabric scraps.
These wax wraps are best used to cover bowls of food rather than touching food directly. As they don’t contain any extra ingredients other than beeswax, they are more vulnerable to disintegration from coming into contact with acidic foods.
All beeswax wraps are also quite difficult to clean since they cannot come into to contact with hot water without loosing their wax. For this reason we would strongly advise against bringing your wraps into contact with raw meat or fish.
Just a gentle reminder that beeswax is not vegan, although there are other wax alternatives you can use if you feel like experimenting! Learn how to make DIY beeswax wraps with our instructions below.
DIY Beeswax Wraps: Step-by-Step Instructions
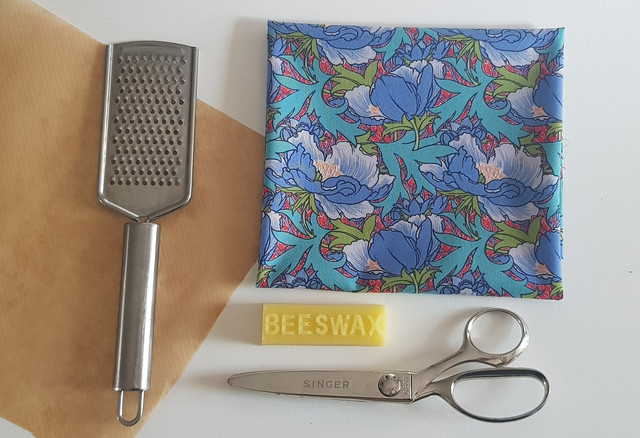
What You Will Need
Equipment:
- Pinking shears or regular scissors
- Grater (only if using bars of beeswax)
- Parchment paper
- An iron
Materials:
- 100% cotton fabric, washed and ironed
- Sustainably sourced beeswax, bar or pellets
1. Cut the Fabric
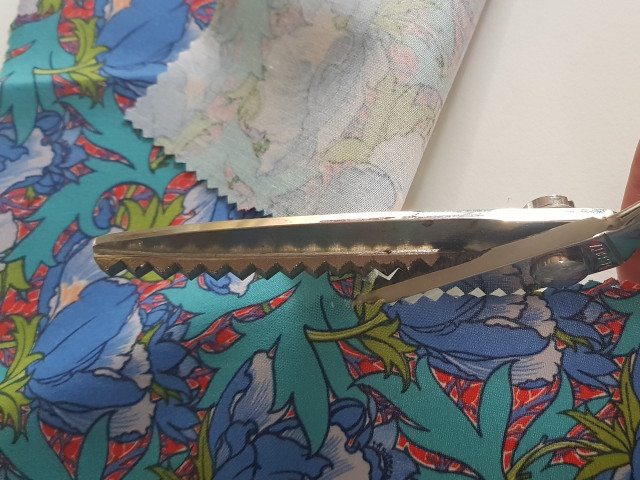


Using the pinking shears, cut out a square that will be big enough to cover your favorite leftover storage bowl or whatever you typically store in the fridge. You can cut the fabric to any size you like, as long as it’s not bigger than the parchment paper you’re going to use.
Cutting the fabric with pinking shears ensures that you won’t get any frayed edges, however if you don’t own any you can also manually pink the edges for the same effect with regular scissors.
2. Grate the Beeswax
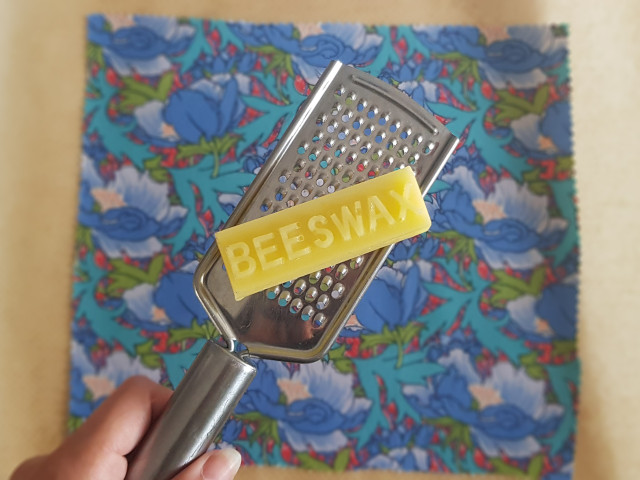


To make your DIY beeswax wrap, lay the cotton fabric in the middle of the parchment paper and finely grate the beeswax until you have enough to cover the cotton fabric. If you’re using beeswax pellets, you won’t need to use a grater, and you can just sprinkle the pellets over the fabric.
3. Heat the Beeswax
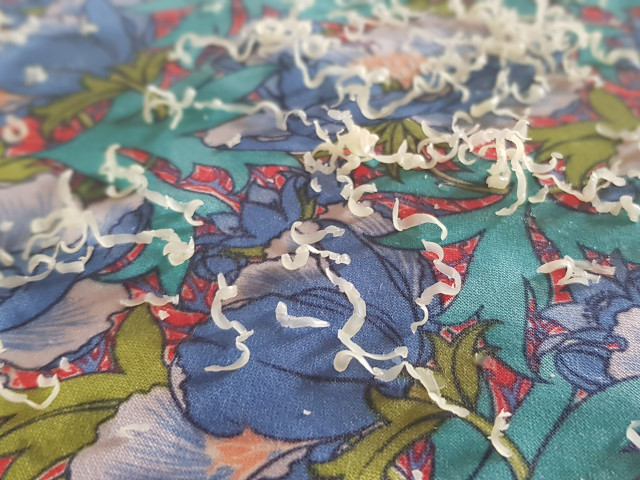


Heat the iron to a low setting, no more than 300F (or 150C). Place another sheet of parchment paper on top and gently iron until all the wax is melted and pushed out to the edges. You won’t need to press hard, just let the weight and heat of the iron do the work. If you notice any gaps, lift the top sheet and sprinkle some more beeswax as you go.
4. Let Cool
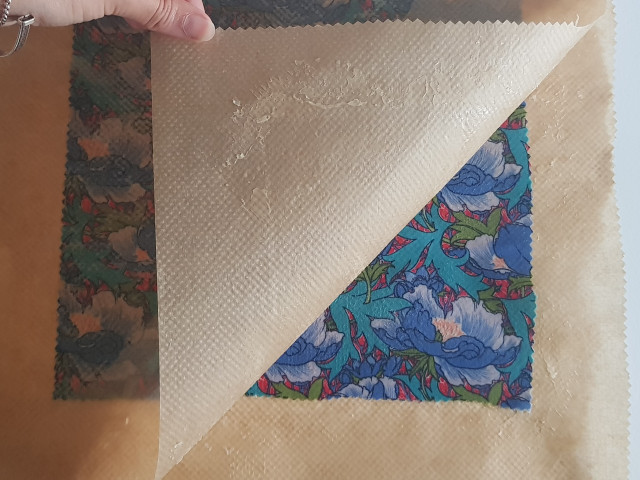


Leave to cool completely before peeling off the parchment paper. Scrape off any excess wax from the paper to use again on another DIY beeswax wrap. You can place the parchment paper in the freezer to make it easier to scrape off the hardened beeswax from the paper. Parchment paper cannot be recycled but can be used multiple times so make sure you don’t throw it away!
DIY Beeswax Wrap: Use & Care
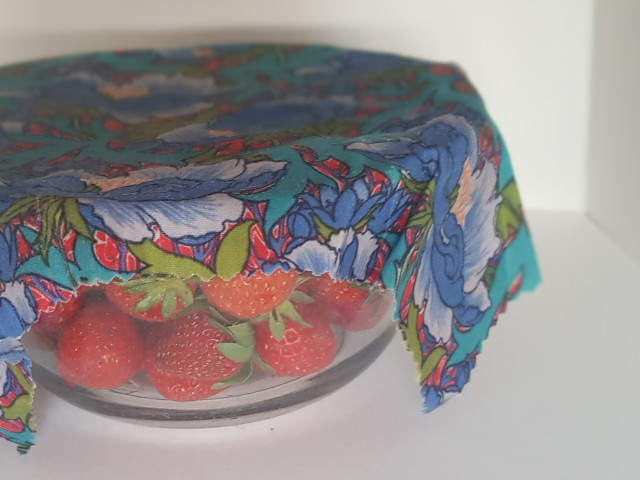


Using the warmth of your hands, mold the beeswax wrap around the container you want to cover. Because beeswax has such a low melting point, always make sure whatever you want to store is completely cool before you cover it.
How to Clean your Beeswax Wraps
You can easily clean your beeswax wraps using homemade dish soap and cool water. Again, don’t use warm water to clean your beeswax wraps as it may ruin them by melting off the beeswax!
How to Refresh your Beeswax Wraps
Since there are no preservatives in beeswax, they will begin to lose their stickiness over time. So even if you do accidentally wash away any beeswax, it’s not the end of the world. You can easily refresh them by re-ironing them using the same method described above. For a simple refresh, you often won’t even need to add any more beeswax.
Read more:
- Is Carnauba Wax Vegan?
- Cupro Fabric: How Is It Made and Is It Sustainable?
- Furoshiki Wrapping Tutorial for Scarf & Fabric Gift Wrap
Do you like this post?


