The use of herbs has been a vital part of every culture for thousands of years. Whether for cooking or medicinal purposes, we’ll show you how to dry herbs naturally and share our best tips for how to preserve their aroma for longer.
How to Dry Herbs Without an Oven: 4 Common Methods

Leaving your favorite herbs out to air-dry is the simplest and most eco-friendly way to dry herbs. Letting them dry naturally without the aid of an oven or microwave will also help you avoid the chance of burning them or drying them out too quickly and losing flavor. Keep in mind that humidity can sometimes cause mold to form on the herbs, so if you live in a very humid climate you may need to take a different approach.
Air-Dry Your Herbs
To air-dry your herbs, all you’ll need to do is take your freshly cut herbs and spread them out on baking paper or even old newspaper. Avoid bundling the herbs together too closely so that they have enough space to dry evenly.
Leave the herbs to dry in a well-ventilated area that is out of direct sunlight. Depending on the time of year and the type of herbs you are drying, it should take a week for them to dry out completely.
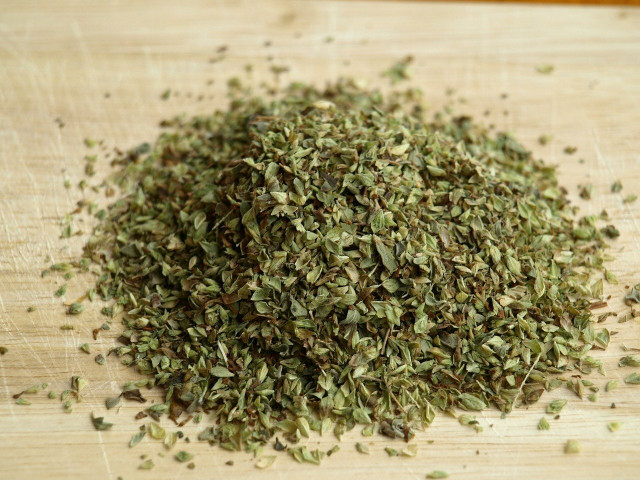
Certain herbs can actually be sun-dried, but in most instances, a slower air-drying approach will ensure your herbs retain the maximum amount of their natural aroma. Once the herbs are crunchy and crumble to the touch, they are ready for storage.
Rack-Drying Herbs
If you lack kitchen space, a hanging rack is another low-tech and natural solution for drying herbs. You can purchase reusable herb drying hanging racks in your local nursery or online (e.g. on Amazon**) that are built for this exact purpose. You can also make your own improvised hanging rack using old coat hangers and some netting, for example. (Tip: Drying racks can also be used for things like drying flowers)
Hang the herbs in a space that is out of the sun and well-ventilated to avoid the herbs being ruined by mold. Check on the herbs now and then and rearrange if you suspect they are not drying out evenly and still retaining too much moisture.
Hanging Herbs for Drying
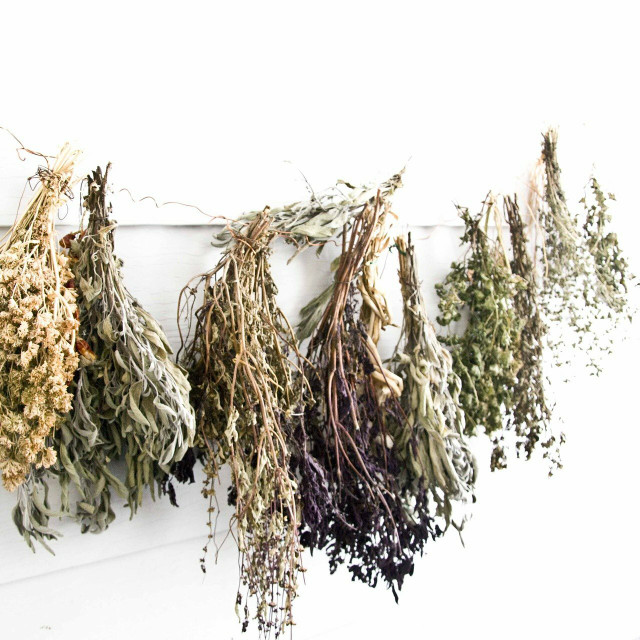
Similar to rack-drying, hanging herbs out to dry is an even simpler method to naturally dry your herbs at home. Just bundle about 10 stems of your herbs into a bouquet and tie the stems together at the base with a bit of twine. Leave one end of the twine long enough to create a loop for hanging.
Hang your herbs in the kitchen or somewhere where you can keep an eye on the drying process. The little herb bouquets also look beautiful and add vibrant colors and a fresh earthy scent to your home. The herbs should be dry in about one week.
Drying Herbs in Paper Bags
Using paper bags is another easy herb-drying hack. Not only will the bags protect your herbs, but they will also collect any debris that may fall off during the drying process, so there is less waste and less mess. Paper will also speed up the drying process by absorbing extra moisture.
Be sure to poke a few holes in the bags to keep the herbs inside well-ventilated. Remember to check on the herbs now and then and rearrange to avoid mold from setting in. The drying process should take a week at most.
Want to start your own kitchen herb garden? Find out how rewarding it can be here: Kitchen Herb Garden: Grow Your Own
Benefits of Dried Herbs


In addition to being a fantastic addition to all your culinary endeavors, dried herbs have long been valued for their medicinal uses, particularly as teas and tinctures. They are also a great substitute for salt when adding extra flavor to a meal and many types of herbs such as parsley and peppermint are loaded with essential vitamins.
Dried herbs are easy to store and will still retain their beneficial properties for months on end. In some instances, the drying process can actually enhance the potency of the nutritional value and flavor.
Learn more about how to use dried herbs here:
- Herbal Remedies: 5 Yarrow Benefits and Uses
- Calming Tea: Varieties to Help with Stress and Anxiety
- Sage Tea Benefits – and How to Make Sage Tea
How to Store Your Dried Herbs
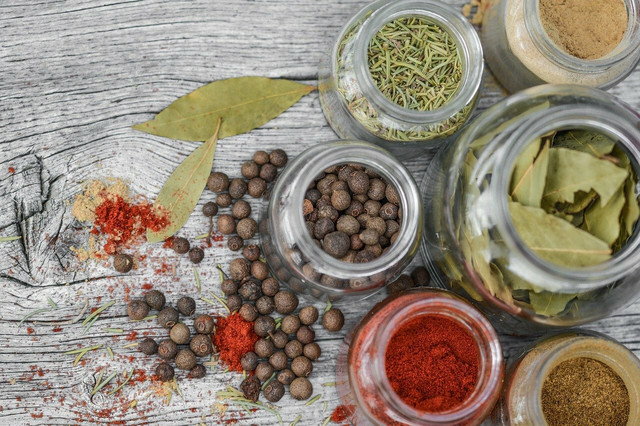
To keep them freshest for the longest, store your newly dried herbs in sealable, reusable containers like small canisters or jars (don’t forget to sterilize your jars before using them!).
Learning how to dry your own herbs means you won’t need to waste money buying dried herbs from the store, which usually come in disposable packaging that is likely to end up in a landfill.
To preserve their natural flavor, always keep your dried herbs in a dry and dark place. Also, be sure to label your containers so you can properly keep track of what you have on hand.
Popular Herbs For Drying


Virtually any type of herb has the ability to be naturally dried at home and stored for later use.
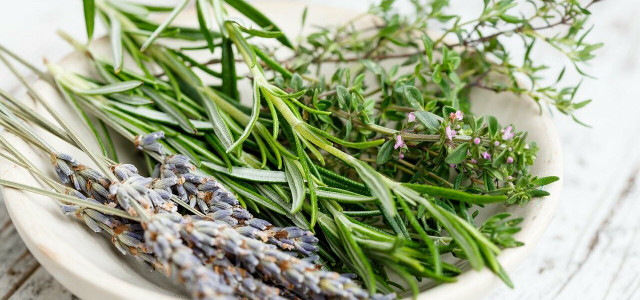
Check out our guides for more specific tips on how to dry long-standing favorites like chives, lavender, basil, oregano, peppermint, sage, and thyme.
You might also want to consider other great herbs such as dill, stevia, rosemary, thyme, parsley, cinnamon, ginger and cilantro. Each one has its own unique properties and versatility that will perfectly suit a range of needs.
Read more:
- Growing and Keeping Basil Fresh: Tips for Kitchen Herbs
- All Beauty Fades? How to Preserve and Dry Roses
- Calming Tea: Varieties to Help with Stress and Anxiety
Do you like this post?


