Learning how to preserve garlic means you'll always have this common ingredient on hand. Here are two simple step-by-step methods to avoid food waste.
Garlic is a plant in the Allium (onion) family, closely related to onions, shallots, and leeks. Grown in many parts of the world, garlic is a popular cooking ingredient known for its vibrant smell and punchy taste. Not only is garlic delicious, but it also has many health benefits. Learning how to preserve garlic is an excellent skill to make sure you have this versatile ingredient on hand at all times.
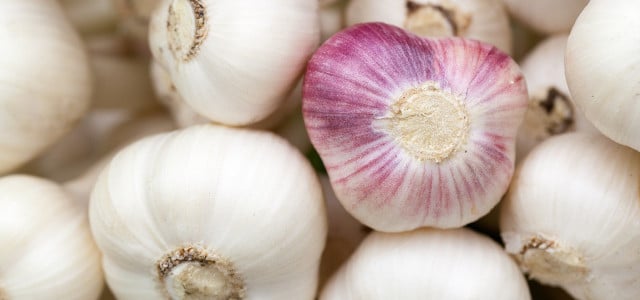
Raw garlic can last for months in a cool, dark, and dry environment. However, in warm areas, it can begin to sprout in just a couple of weeks. You can freeze garlic, but preserving it can be fun and is very easy to use from the jars. You’ll find our easy-to-follow guide for preserving garlic below, but first, let’s take a look at how to choose the best garlic for preserving:
- Choose garlic that isn’t sprouting. Sprouting is a sign that the garlic is past its best.
- Smell the garlic. If it smells moldy, don’t select it for preservation.
- Give the garlic a gentle squeeze. It should be firm and certainly not squishy.
How to Preserve Garlic: Peeling and Preparing


(Foto: CC0 / Pixabay / postchiangmai0)
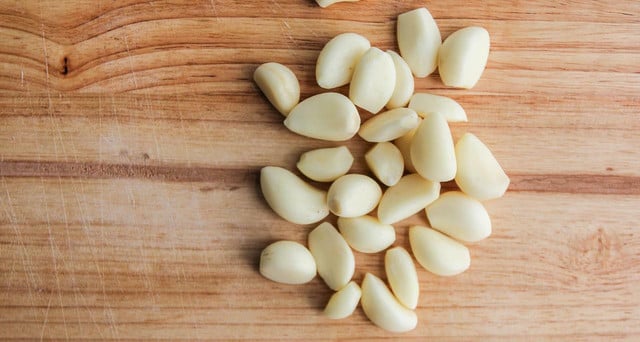
There are a number of ways to peel garlic. These tips may save you some time, as peeling with your fingers can be time-consuming if you need to peel multiple bulbs.
How to Peel Garlic:
- Take two metal bowls of the same size, or use a large Tupperware container with a lid. If using the bowls, place them on top of each other, creating an orb shape. If using Tupperware, place the garlic in there. Place the whole bulb in. Shake very hard for around 30 seconds. This method works best for garlic whose skin is already a little loose. The cloves should break away from each other, and the skins should fall away.
- You can also use a similar method by pacing the garlic in a glass jar, but you may only be able to process a smaller amount, and be careful you don’t drop the jar when vigorously shaking.
- You can use a knife to remove the skin, but be careful you don’t use the well-known crush and smush method, as you want your garlic cloves intact for preservation.
- You can slightly heat the garlic in warm water, making it easier to peel if using your fingers.
Preparing Garlic for Preservation:
- Rinse the peeled cloves.
- Use a small knife to remove any brown spots.
- Rinse those cloves again, then proceed to preserve them.
How to Preserve Garlic by Pickling


(Foto: CC0 / Pixabay / LaciCarroll)
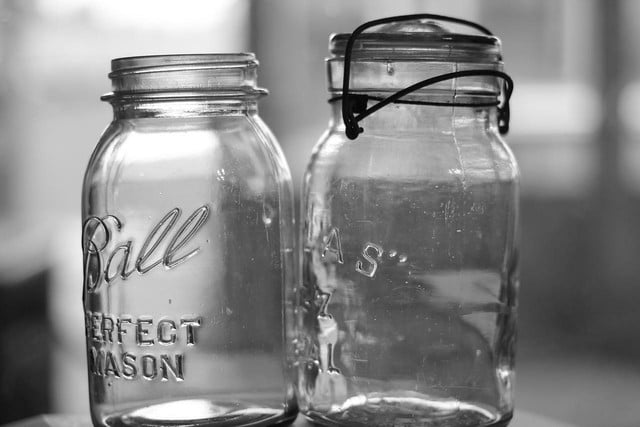
Pickling garlic can keep your garlic fresh for months. If you use this method often, label the jars so you know which ones to use first. Because of the natural oils within the garlic, they don’t take on a vinegary taste with this method, so if you do want that hint of vinegar, skip the rinsing process. It is important to use pickling salt, however, as it is pure and free of additives. Your pickled garlic should last for several months to a year in the fridge.
Yield: 4 half-pint jars
Ingredients:
- 4 cups peeled whole garlic cloves
- 2 cups white vinegar
- 1 cup water
- 1 tbsp. pickling salt
- 1 tsp. dried oregano
- 2 tsp. red pepper flakes
- 2 tsp. crushed peppercorns
- 4 bay leaves
Instructions:
- Sterilize and dry the jars.
- Add a quarter of the oregano, red pepper flakes, crushed peppercorns, and a chopped bay leaf (you can cut up with scissors) to the bottom of each dry jar.
- Have a bowl of icy water ready for after you blanch the garlic.
- Boil a large pan of water. Place the garlic cloves in the water and blanch for only one minute.
- Quickly drain and place in the icy water until the cloves are cold.
- Use the pan to combine the vinegar, water, and salt; bring to a boil, and reduce heat to low for one minute until the salt has dissolved.
- Fill each jar with garlic cloves. You can pack them quite close. Fill the jars to around ½ an inch from the top. Add the vinegar mixture to each jar, leaving ¼” head space. Tap jars gently to release any bubbles, or use a chopstick or other thin non-metal utensil to run around the side of the jar.
- Clean jar tops with a wet paper towel and screw the lids on.
How to Preserve Garlic Cloves in Oil


(Foto: CC0 / Pixabay / stevepb)
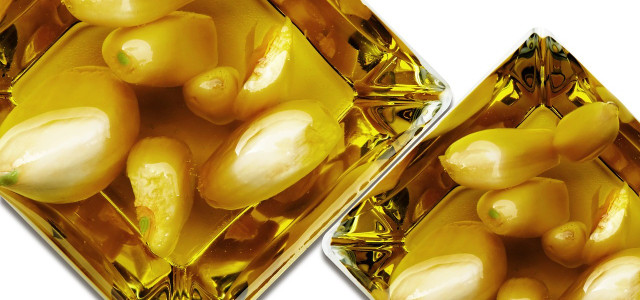
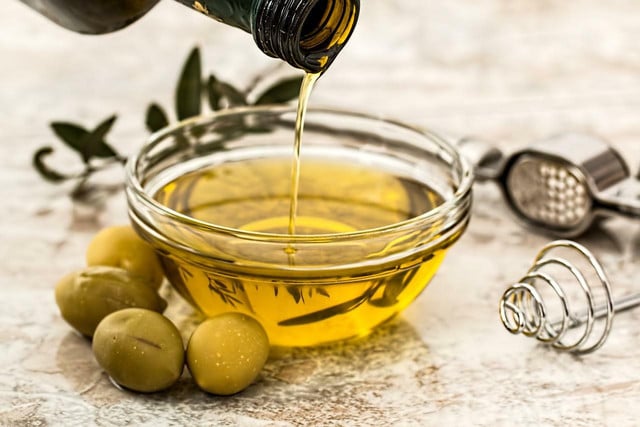
Preserving garlic cloves in oil is efficient and easy. Again, it’s useful to label if using this method regularly.
Yield: 2 cups
Ingredients:
- 3 garlic bulbs
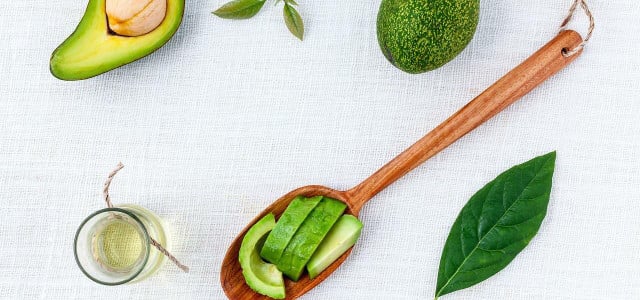
- 1½ cups avocado oil
Instructions:
- Sterilize your glass containers.
- Add the garlic.
- Cover with oil, until completely submerged.
- Add an air-tight lid.
- Store in the refrigerator for up to three months.
You can also use olive oil or other vegetable oil of choice.
Uses for Preserved Garlic


(Foto: CC0 / Pixabay / joshuemd)
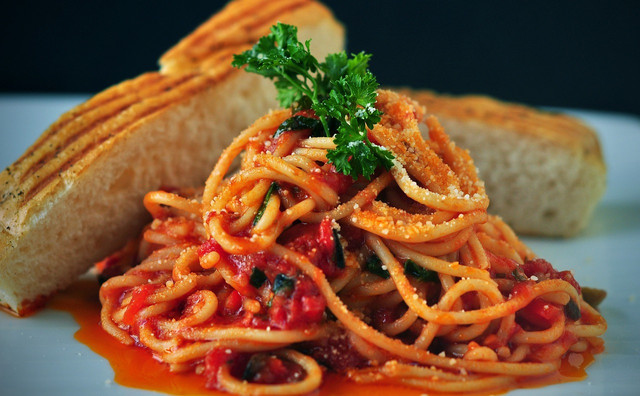
Garlic is versatile and it has many uses. Consider adding to a delightful vegan chop suey, or whip up a wild garlic soup with crispy croutons. Curl up with ginger and garlic tea, or throw together a homemade pesto. Garlic is also superb as a vegan pizza topping.
Now that you know how to preserve garlic, you can get handy with your culinary skills and reap the rewards.
Read more:
- How to Make Garlic Salt: Homemade Recipe
- How to Make Roasted Garlic: Recipe & 9 Tasty Ways to Use It
- Flowering Garlic: Can You Still Harvest Blooming Garlic?
Do you like this post?


