Making delicious bread at home is easier than you think. Here we show you one simple Dutch oven sourdough bread recipe you should definitely try out.
Avid bakers will all agree that making your own bread successfully at home is one of life’s simple pleasures – even more so when you master baking your own crusty and delicious sourdough bread. Sourdough bread is a little different to regular bread in that it uses natural wild yeast to rise, rather than your typical off-the-shelf commercial yeast from the store. Yes, you can buy sourdough starter kits, but growing your own wild yeast sourdough starter is simple.
Why Dutch Oven Sourdough Bread?
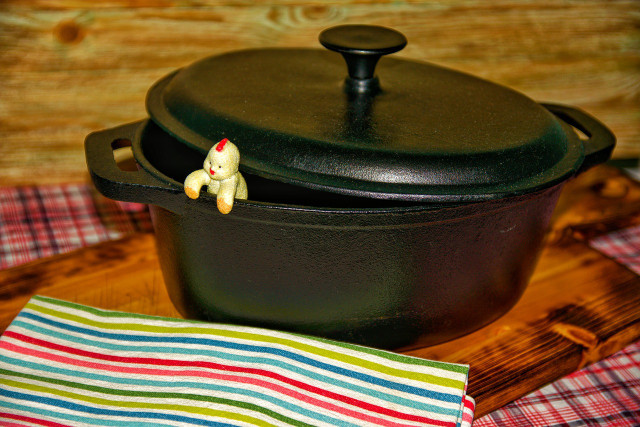


Sourdough bread really needs a Dutch oven to ensure consistent results every time you bake it. A Dutch oven works by trapping steam inside where it then works to keep the outer crust of the bread soft as the dough continues to bake and expand to full effect. Without the steam, you will quickly notice that your sourdough bread will crust over too quickly which essentially halts any more expansion of the dough inside, likely ending up with a not-so-satisfying bread brick.
Baking sourdough bread in a Dutch oven also means that your loaf will bake evenly from top to bottom. There are plenty of great Dutch ovens available, with the best quality ones being very easy to clean afterwards and since they are basically indestructible, your Dutch oven should last you a lifetime.
Making Your Own Sourdough Starter
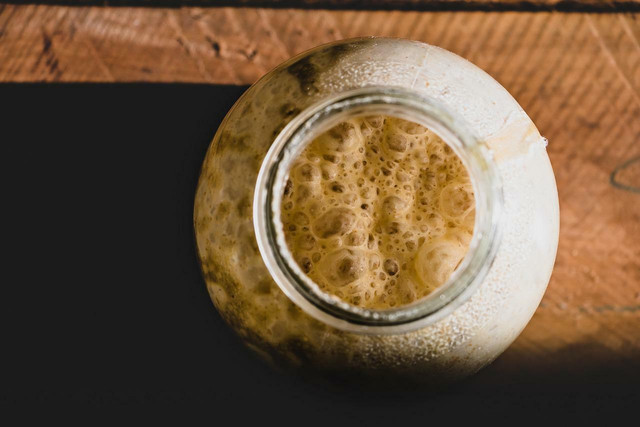


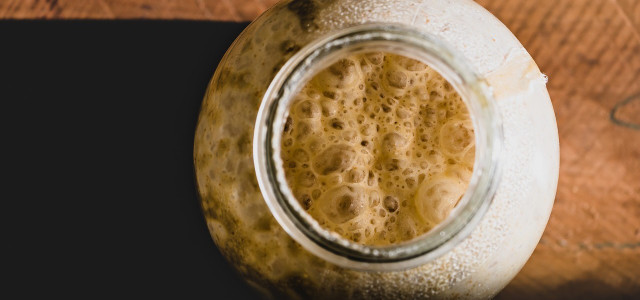
The most important step to baking the perfect sourdough bread is creating your sourdough starter first. Yes, you can buy sourdough starter kits from the supermarket, but really there is no need since you can make it easily using just flour and warm water. Your sourdough starter might take a few days before it starts to grow, but once it is up and running (a happy sourdough starter will produce bubbles), it is very easy to maintain and keep on-hand for the next time you bake sourdough bread.
When you mix warm water with flour, after a couple of days a fermentation process starts thanks to bacteria and wild yeast already present in the air. Once bubbles start to appear in your starter mix, you will know that the fermentation is in full swing and is ready to be used in your sourdough. Any remaining sourdough starter can be kept for later use. You will need to regularly ‘feed’ your starter once a week by stirring in more water and flour to keep the wild yeast happy.
How To Make No-Knead Sourdough Bread
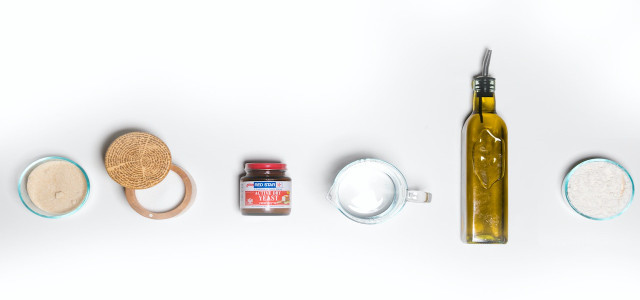
A classic sourdough bread has always been made using just three natural ingredients: water, flour and salt. Of course there is also your sourdough starter, which is made from flour and water.
Ingredients:
- 1 cup active (fed) sourdough starter
- 1¾ cups warm water
- 5 cups unbleached flour
- 1 tbsp. salt
Instructions:
- Start your sourdough by mixing together the flour and warm water before allowing it to rest for 30 minutes. This will allow for the water to be properly absorbed by the flour.
- Ensuring that your sourdough starter is actively producing bubbles, add the sourdough starter to the dough and using wet hands, lightly push it in to the mix and sprinkle in your salt.
- Using your hands gently mix the dough for about 5 minutes to bring everything together evenly and with a damp towel, beeswax wrap or plastic wrap cover the bowl to prevent a dry and unwanted crust from developing on the sourdough’s surface. Let it rest for another 30 minutes.
Tip: The key to any good baking is making sure your measurements are always accurate.


Stretching And Folding The Sourdough
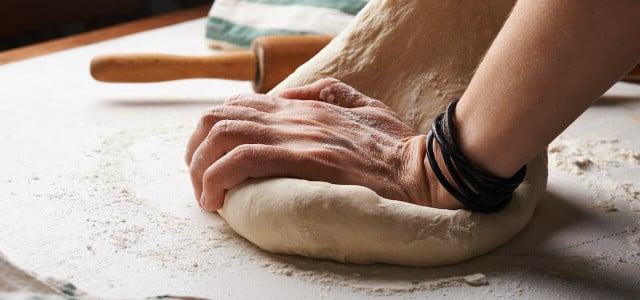
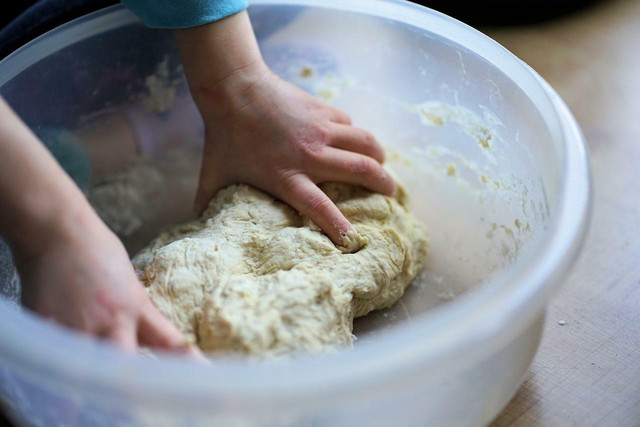
Rather than vigorously kneading as you would typically do for most bread recipes, this sourdough bread mix will only require 5 or 6 rounds of gentle stretching and folding.
- With your sourdough still in the bowl, grab the edges of the dough, pull up and slightly outwards, stretching it before folding back into the center of the dough. Dip your hands in some water if the sourdough starts to stick. Turn the bowl a couple more times and repeat this process. This is considered as one ‘stretch and fold’.
- There are dozens of ways to complete these steps, with everyone having their own favorite method but as a rule of thumb for beginners do the first three stretch and folds on 15-minute intervals and the last three on 30-minute intervals.
- Then with your damp towel, plastic or beeswax wrap cover the mixing bowl and give the sourdough time to ferment in full until bubbles start to evenly protrude from the sourdough’s surface. How long this will take varies depending on the culture in your sourdough starter and the temperature as a whole, but the longer you allow time for this, the better.
- Now take the bowl and so as to not crush all those air pockets that have started to form inside the sourdough, take it in your hands and gently shape it into a ball, cover with beeswax or plastic wrap again give it 12-15 hours in refrigerator, this usually means overnight.


Baking Your Sourdough Bread
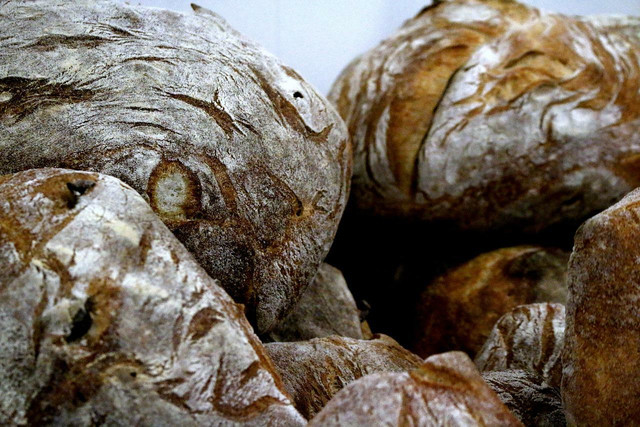
- You will need to start by preheating your Dutch oven to 500F for 30 minutes. Once ready, take your sourdough out of the fridge sprinkle a little extra flour on top and using a sharp knife, score the surface to allow the dough to expand even as the outer crust starts to develop during baking.
- Next you will need to lightly dust the bottom of the Dutch oven with a bit of flour to prevent your sourdough sticking to it. Place your sourdough in the Dutch oven, put on the lid and then bake for 20 to 25 minutes at 475F.
- Now it is time to remove the Dutch oven lid, turn your oven temperature down to 450F, and continue to bake for another 25 minutes or until a nice brown outer crust has formed on the sourdough.
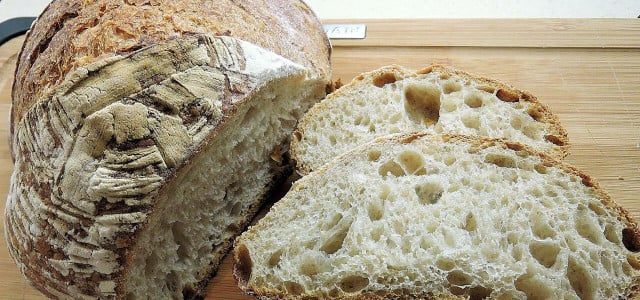
- Carefully remove the sourdough bread from the Dutch oven (it should just drop out when the Dutch oven is overturned, assuming you got the dough to a good consistency), and place on a cooling rack for at least 30 minutes before serving.
Read more:
- How to Make Pizza Dough: A Simple and Easy Recipe
- Easy Spelt Bread Recipe: Simple and Quick 1 Hour Prep
- Quick Buckwheat Bread Recipe: Make it Yourself
Do you like this post?


