Is there any such thing as a face massage for wrinkles? We’ll show you 8 techniques that may reduce facial lines and creases if practiced regularly.
A face massage in itself is a refreshing and relaxing act of self-care. Massage may reduce stress and tension but might also be used for cosmetic purposes too, such as a face massage for wrinkles.
Wrinkles are a natural occurrence, often accompanying aging, and are nothing to be ashamed of. Lines that come from laughing and smiling on our journey through life don’t need to be hidden away. Yet, a face massage could be added to your daily routine to help wake you up and get the circulation flowing. No harm can come from keeping the face soft and loved.
The main reason a face massage could lessen the appearance of wrinkles is that it increases blood flow to the face, which may stimulate the production of collagen, which helps with the skin’s elasticity. Studies have been conducted which suggest that skin massage increases the production of decorin, fibrillin, tropoelastin, and procollagen-1 in the skin, but there is very little clinical evidence on a large scale.
We have compiled eight techniques you can work into a regular self-care practice. You only need a few minutes a day, and hopefully, you’ll feel relaxed, refreshed, and radiant.
Stokes to Add Into a Face Massage for Wrinkles

You can aim to dedicate a few minutes each day to your face massage, maybe as you cleanse or moisturize. Alternatively, you could use a combination of these methods when you remember, maybe when you’re relaxing at the end of the day.
1. Finger Circles: Starting at the top of the forehead, use your three middle fingers to trace small circles on the head. Move out towards the temples. Move the fingers lower, again starting in the middle, and repeat, Move the circles into the middle of the brow and again follow outwards. Move the circles into the cheekbones, being careful to use less pressure near the eyes. You can continue this circling all over the face and around the jaw.
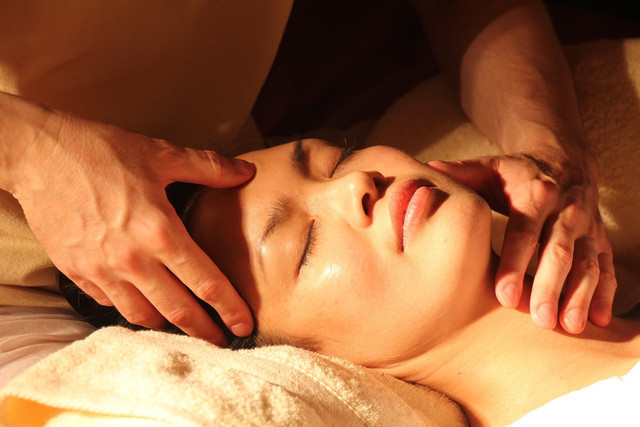
2. Pressure Points: Used often in Thai facial massage, applying pressure to certain spots can reduce tension. One of the key spots for this is in the middle of the forehead, as seen in the above image. This is also where we may find natural lines on our faces. Gently press with the fingers or thumb and hold for a few seconds. You can repeat this a few times if you wish. You can also apply this pressure point technique to the area of the forehead just below the hairline, from the middle out to the sides.
Relax and Rejuvenate


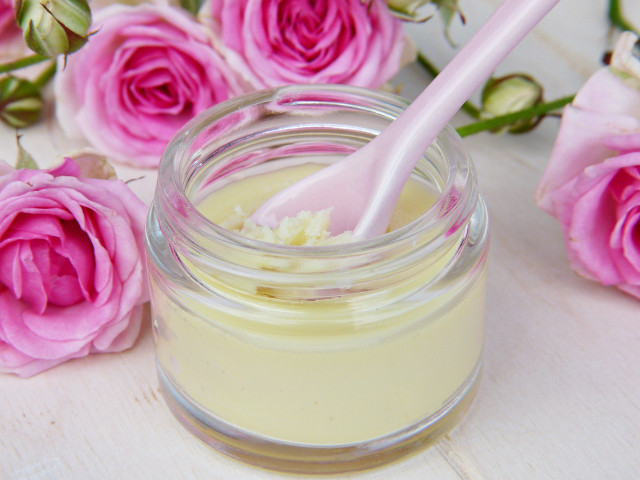
For all the methods, if you find your skin is dry, apply a little DIY moisturizer or an oil suitable for your skin — for example, avocado oil may be a gentle option.
3. Flushing or Sweeping: You can start by sweeping your fingers down the bridge of the nose, moving onto the eyes area, and flushing always out to the sides of the face. Flush from under the jaw upwards, again starting in the middle and sweeping outward. You can do the same on the forehead, moving out and up. You can also extend this into the neck with light fast strokes from the base of the neck to the jawline.
4. Pinching: Pinch different areas of your forehead between your fingers and thumbs. This is a brief pinching, moving to different areas with each pinch. For extra pleasure, you can move this to the top and sides of the head. Gently and quickly, pinch the cheeks, avoiding the eye area. Lastly, move to the jawline and repeat. This technique is very stimulating, and you may feel flushed afterward as the blood flow increases.
More Facial Massage Techniques


You can combine any of your favorite techniques for your face massage. All of the methods aim to tone, as well as relax, your face. Here are some more from our list:
5. Kneading: This gentle massage technique, like pinching, can be quite stimulating. Use the upper parts of your fingers with your fists lightly closed. You can move the hands in synchronized circles, or they can move independently. Once you tune into this practice, you will move your hands fairly intuitively. This is lovely on the forehead and around the temples, often where we may find our laughter lines. You can also knead the cheeks and along the jawbone.
6. Tapping: Keeping it gentle, lightly tap all around your face, using all of your fingers. You can tap around the eyes, but be careful not to pull the skin. Tap over the eyebrows too; this is often a very pleasant feeling, as you feel the sensation of vibration through the bones.
Increased Circulation = Brighter Skin


7. Stretching: This technique is great for use around the cheeks and jaw. Starting with fingers close together, gently hold the skin and gently move the fingers apart. You can move this up into the fleshy areas of the cheeks too, stimulating the face.
8. Rubbing: This is similar to the circling stroke but done with much bigger motions, and along with circling, you can add a little rub. This is easier if the face is moisturized. You can use your fingers or try with the palms of your hands. It feels a bit like having your face squooshed as a child, as an affectionate gesture. Give yourself a little love!
And remember, the marks we may show on our faces are nothing we need to hide. But that little bit of self-care may just make room for some more laughter and love lines later.
Read more:
- Benefits of Grapeseed Oil for Your Hair, Face & Body
- The 5 Best Pressure Points for Sleep
- DIY Face Wash: All-Natural Face Wash Recipe
Important Information regarding Health-related Topics.
** Links to retailers marked with ** or underlined orange are partially partner links: If you buy here, you actively support Utopia.org, because we will receive a small part of the sales proceeds. More info.Do you like this post?


