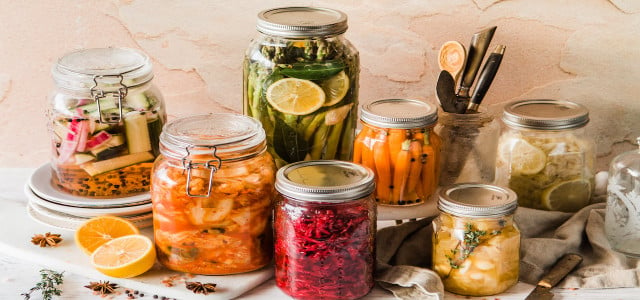
Fermenting vegetables at home saves money and tastes delicious. Here’s a basic beginner’s guide and some useful tips to get you started.
Learning how to ferment vegetables is well worth the time. Although the word “fermentation” brings to mind alcoholic beverages, it is actually a culinary technique used to ripen and develop flavor, as well as to preserve food.
Fermentation isn’t only useful for making sauerkraut or beer — in general, it describes a process in which bacteria, yeasts, or enzymes break down sugar molecules in food, resulting in the production of gases, alcohol, and acids. Fermentation deepens the flavor, and thanks to the acids that are formed, it is also an effective method to preserve food.
This may not sound very appetizing at first, but fermented foods are actually a regular feature on our tables: black tea is made from fermented leaves, salami is first ripened by bacteria, and sourdough bread is made from nothing but fermented flour. Lactic acid fermentation is responsible for some of our everyday favorites including yogurt, buttermilk, and kefir, but also fermented vegetables like sauerkraut (including sauerkraut juice), kimchi, and pickles.
How to Ferment Vegetables: Step by Step
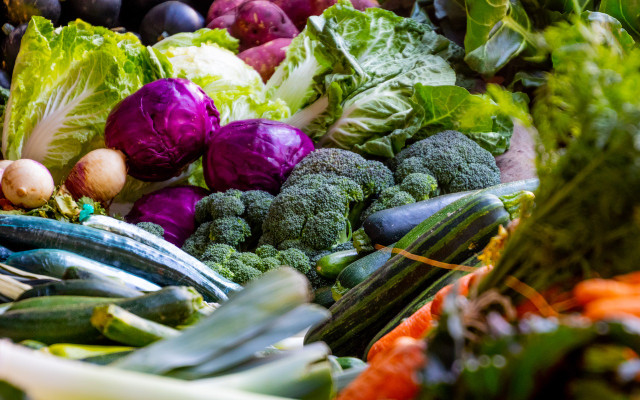
In the past, every household knew how to ferment vegetables to ensure that everyone had enough to eat through the winter. For the modern family, frozen vegetables, canned food or imported goods are often the answer. However, it is quite easy to ferment food yourself to keep it preserved.
For this basic method, you’ll need:
- Vegetables of your choice — feel free to mix and match
- 2 cups water
- 1 ½ tbsp sea salt (coarse is best)
- 1 qt. wide mouth, sealable glass jar
- Herbs and spices (optional)
- Chop up the vegetables you want to ferment. (Depending on the vegetable, you can also leave them whole).
- Fill a sealable glass jar (like this one on Amazon**) with your vegetables, along with any herbs and spices you want to use. Fill the jar to the top of the neck, leaving about one inch of space at the top.
- Stir together your water and salt until the salt is dissolved, then pour over the vegetables until the jar is almost full (leave about ½ inch of space). Make sure the vegetables are completely covered.
- Place the lid on the jar and make sure it is closed tightly! Store it in your pantry or anywhere else in your house that’s about 70˚F for 5-7 days. You should see bubbles in the liquid as the lactic acid bacteria start to work.
- After about a week, move the jar to a cooler place like the refrigerator or a cold cellar to ferment for at least another two weeks.
- Open the jar and do a taste test to see if you’re satisfied or if you want to let the fermentation continue for longer. It should take somewhere between 2 and 4 weeks for the fermentation to be finished, depending on the vegetables you’re using and the size of the pieces,
Using Organic and Local Ingredients
We recommend using locally grown vegetables that are in season. Some of the best vegetables for fermenting include beets, different cabbage types, carrots, radishes, green beans, and tomatoes. You can use anything your heart desires or whatever you have a surplus of. Spices change the taste: chili pairs well with cabbage, ginger, and carrots, and cumin also goes well with cabbage…you’ll end up with more ideas than jars! Whether you grow them yourself or purchase them at your local’s farmers’ market — the best preserves come from fresh, organic, and regional produce.
In all lactic fermented foods, the lactic acid bacteria already exists on the surface of the vegetables. This means you don’t need any starter cultures to start fermentation, just the vegetables, some salt, and an airtight container. It is important to store the fermenting liquid in a way that ensures it has no contact with atmospheric oxygen.
Did You Know? Organic vegetables have more natural lactic acid bacteria on them than conventionally grown ones.
Benefits of Traditional Preservation
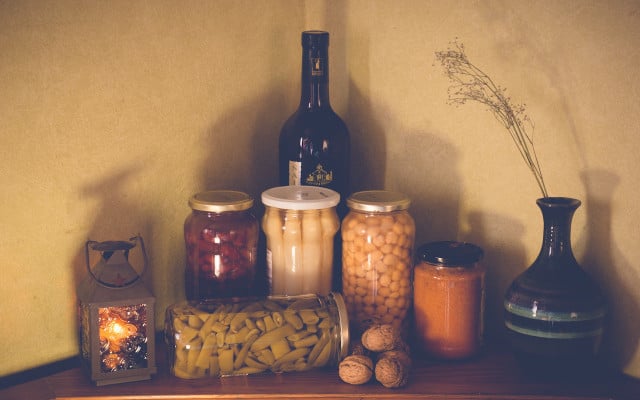


Before the invention of freezers and refrigerated warehouses, summer harvests had to be preserved in such a way that the food was also available all winter long. Fermentation is the perfect solution — fermented foods don’t need to be heated, which has historically helped people get the vitamins they need throughout the year.
Moreover, fermentation produces additional vitamins, such as vitamin C or even B vitamins. So, learning how to ferment vegetables actually makes it possible to have a completely balanced, regional diet without imported fruits and vegetables. Just like in the old days!
Vitamins contained in fermented vegetables are beneficial to health, especially to our intestines. Lactic fermented foods such as sauerkraut, kefir, or yogurt promote the formation of healthy gut flora. This is important not only for digestion but also for our immune system.
Fermentation can be seen as a sort of “predigestion” process. This is said to make fermented foods easier for your body to digest and even lower in calories due to the broken-down carbohydrates. Learning how to ferment food is a way of preserving knowledge that has been passed down for generations, and trying out something that was a typical part of everyday life in the past.
The acid produced during the fermentation process kills the germs which would normally cause food to spoil. This gives fermented foods a long shelf-life without being refrigerated.
Fermenting Vegetables Stink…
One thing all fermented food has in common is the smell…it stinks! Due to the development of odors in the first three to four days, it is better to keep your fermentation container in a separate (heated) room. It’s important that the lactic acid bacteria get their “ideal” temperature, which starts at 68˚F. Once the original fermentation period subsides, feel free to store your vegetables in a cold cellar or basement, keeping in mind that the ideal storage temperature is between 59-64˚F.
How to Ferment Vegetables: What Can Go Wrong?
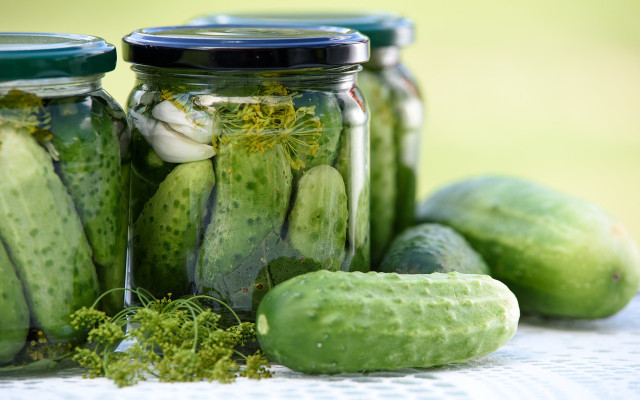


If you’ve never tried fermenting your own vegetables before, you’re probably imagining all the ways it could go wrong. Start small and work your way up — Rome wasn’t built in a day! For beginners, vegetables with low water content like cabbage, carrots, and beans are great because they can’t become too mushy. After you’ve mastered those, move on to more watery veggies like cucumbers, zucchini, or tomatoes. Other than mushy vegetables (due to lack of salt), the following things could happen:
- White deposits are a sign that you didn’t have a complete air seal and yeast bacteria from the air are interfering with the fermentation process.
- Poor hygiene due to dirty jars, unwashed hands, or improperly washed vegetables can lead to spoilage of the entire fermentation project. You need a clean environment and sterilized jars.
- Your food could rot or mold if the vegetables were not completely underwater or the external temperature was too high (above 86°F ). Lactic acid bacteria cannot work optimally under high temperatures, while harmful bacteria thrive in the heat.
- If the lid of the jar bulges during storage of the finished fermented vegetables, this is a sign that you have screwed it on too tightly and the natural gasses produced during the process can’t escape. If the preserves are spoiled, they’ll have an especially unpleasant smell.
Once you’ve ventured into the subject of fermentation, you’re sure to have plenty of ideas and come up with some unusual combinations. Packed in pretty jars, the fermented vegetables can make great homemade gifts for friends and family!
Important Information regarding Health-related Topics.
** Links to retailers marked with ** or underlined orange are partially partner links: If you buy here, you actively support Utopia.org, because we will receive a small part of the sales proceeds. More info.Do you like this post?


