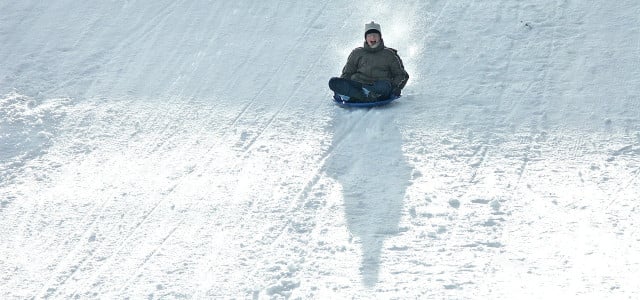
These DIY sleds can be made using easy and eco-friendly methods from materials around your home. Enjoy sledding season with our homemade seven sled ideas.
As the winter season approaches, so do the opportunities to get outside and start sledding. Don’t have a sled? Or is your old sled at the back of the shed rusty and broken? Well then, no need to worry. We have compiled a list of easy and eco-friendly methods for homemade sleds.
These DIY sleds repurpose old, used household items, and transform them into fantastic, practical sleds, so you don’t have to miss out on the sledding action this winter.
1. Homemade Fast Sled
Materials needed:
- 1 large thick black garbage bag
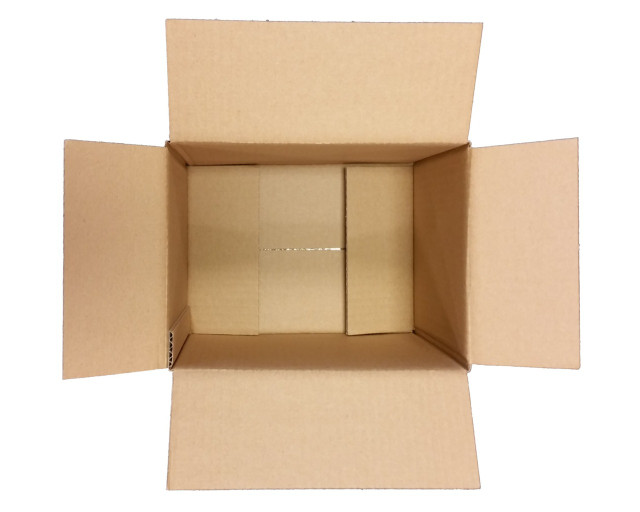
- 1 large thick old cardboard box
- Duct tape
- Scissors
- Exact-o-knife
Instructions:
- Take your cardboard box, and using an exact-o-knife, dismantle the box by cutting off the flaps and shorter sides of the box. This should leave you with the two largest sides of the cardboard box. Place these two pieces together and tape them securely using duct tape.
- Take the smaller sides of the cardboard box to make the front of your sled. You will want to make a long, half-oval shape from the cardboard (like the front bonnet of a car). If you need to, use the flaps from the box as well to create the desired shape. Secure the front of the sled with duct tape, before attaching it to the body of your sled securely using more duct tape (don’t worry about being neat here, the more tape used, the more secure your DIY sled will be).
- Take your bin bag, and slice it down the sides using the exact-o-knife. You should be able to fold the bag out so that it becomes one long strip.
- Place your cardboard sled onto the bag. Fold the bag over the sled, and tape it down. Stretch the bag as much as you can without ripping it to make sure your sled is as smooth as possible.
- Your DIY sled is now ready for use! Decorate it with colored duct tape or paint, or simply head straight out into the snow for some fun-fuelled hours sledding in the snow!
2. Bathtub Ski Sled
Materials needed:
- Old child’s bathtub
- Old pair of skis
- 4 old wooden blocks
- Old skipping rope
- Hot-glue gun
Instructions:
- Turn the bathtub upside down, and using the hot-glue gun, glue the four wooden blocks to the bathtub’s base, where you will place the skis. Place them equal distances apart to ensure the bathtub will be balanced on the skis. Place a large, heavy object onto the blocks after applying the hot glue to secure them. Leave the bathtub this way for two to three hours to make sure the glue has fully set.
- Next, grab your two skis and glue them onto the wooden blocks, ensuring the ‘sliding’ sides are facing up. Again, place a heavy object onto the skis and leave the glue to set for two to three hours.
- After the glue has fully set and everything is securely attached, turn your sled the right way up. Grab your skipping rope, and attach the center of the rope to the front of the tub. You can then use the handles of the skipping rope to drag the sled and hold it when sledding.
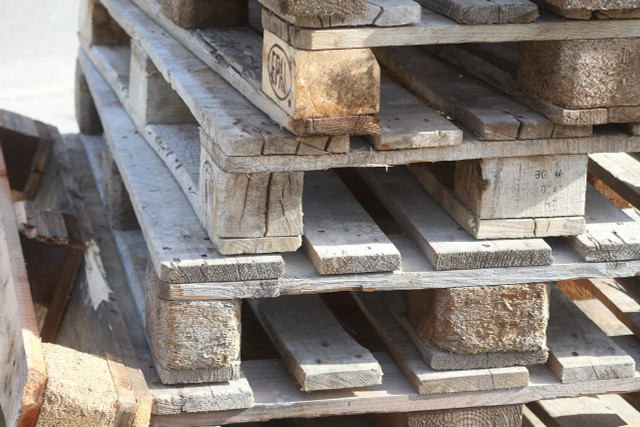
3. Wooden Pallet Shed


Materials needed:
- 1 old wooden pallet
- Old skies
- Skipping rope
- Hot-glue gun
Instructions:
- Turn the wooden pallet upside down. On the base of the wooden pallet, glue the skis securely using the hot-glue gun. Place a large, heavy object onto the skis and leave for two to three hours to allow the glue to set fully.
- Turn the sled the right way up, and at the front, secure the middle of the skipping rope, which can be used for dragging your sled up the hills and holding onto it when zooming down snowy slopes.
4. Air Mattress Sled
Materials needed:
- Air mattress
- Skipping rope
- 2 -3 pairs of old tights
- Duct tape
Instructions:
- Inflate your air mattress.
- Find the middle of your skipping rope. At the front of your air mattress sled, attach the center of the skipping rope securely using duct tape. You will be able to hold onto the handles of the skipping rope when sliding, as well as for dragging.
- Gather your old tights and attach them using tight knots to form a long rope. Loop this long rope around the sled across the shorter sides of the air mattress. Secure it onto the air mattress at the base using lots of duct tape. This long rope will act as the safety belt when you are sledding downhill on your DIY air mattress sled.
- Slip under the tight belt, bringing it up to your waist and grab ahold of the skipping rope handles. Now you are ready for some speedy sledding across the snow.
5. Boogie Board Sled
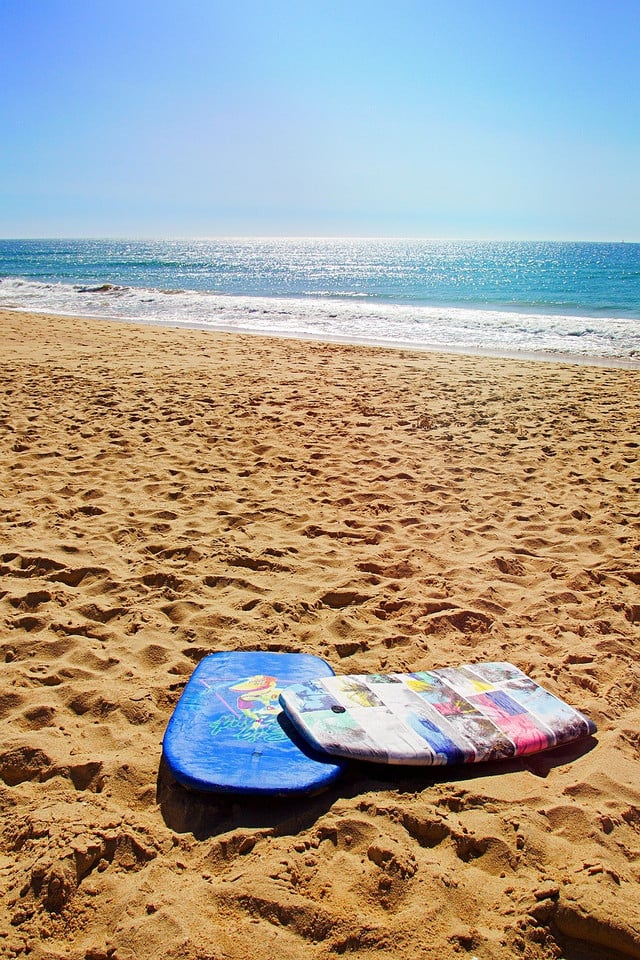


Boogie boards are meant for the sea, but they can come in great use when winter hits as well. Just as you would use the boogie board in the waves, you can lie on a boogie board and sled down snowy slopes all winter long!
This DIY sled works best on compact, icy snow.
6. Homemade Sled: Trash Can Lids
This super simple DIY sled idea is cheap and cheerful. All you need to do is grab the large lid of your trash can, turn it so that the top is touching the snow, and ride on top of it. Hours of fun can be had using this easy and “no-waste” DIY sled.
7. Yoga Mat Sled
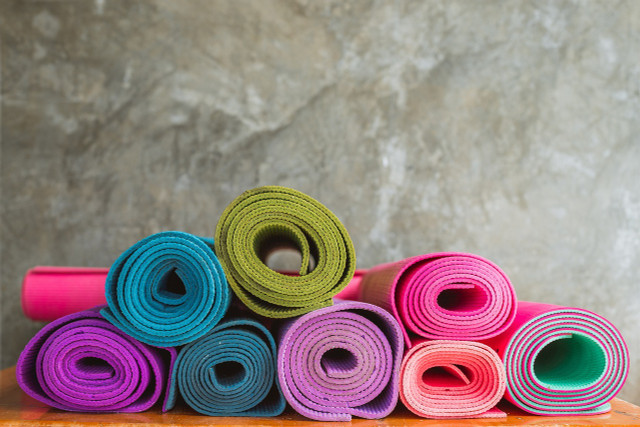


Yoga mats can quickly become worn and smelly. But before throwing your old yoga mat into the trash, why not reuse it as a DIY sled this winter? Yoga mats slide very well across hard and compact snow and make great DIY sleds for when the snow falls and you don’t have a sled.
Read more:
- Running in Snow: 7 Great Tips for Winter Running
- Artificial Snow: What Is It & Is It Sustainable?
- Homemade Hot Cocoa: Recipe & Important Tips
Do you like this post?


