Potato printing is a simple technique that is fun for adults and children alike. We’ll show you how to make potato stamps and what to keep in mind when printing.
Doing arts and crafts with kids doesn’t have to be an activity you save only for rainy days. Children love to be creative and have fun. With potato stamps, children of all ages can produce imaginative and colorful works of art. Depending on the age of the children, some might need more help than others.
In this article, you’ll find:
- instructions to make potato stamps yourself
- tips and tricks for potato printing with children
- various craft ideas for how to use your potato stamps
Potato Printing: What You’ll Need
You probably already have most of the utensils for potato printing at home:
- Large potatoes (spotted or sprouting potatoes will work fine)
- cutting board
- small knife
- cookie cutter
- old newspaper
Depending on what you want to print on, you’ll need different materials.
- If you want to print on paper, cardboard, or wrapping paper, you’ll need watercolor, acrylic or finger paint.
- For potato printing on fabric, you’ll need fabric dye, and an iron to set the paint so it won’t wash away.
- If you want to print on a wall, you’ll need interior wall paint.
Making the Potato Stamp

Here’s how to make a potato stamp:
- Cut the raw potato in half with a knife on the cutting board. Depending on the shape you want to make, you can cut it lengthwise or widthwise.
- Make sure that the cut surface is even.
- Press a cookie cutter two-thirds of the way into the cut surface of the potato.
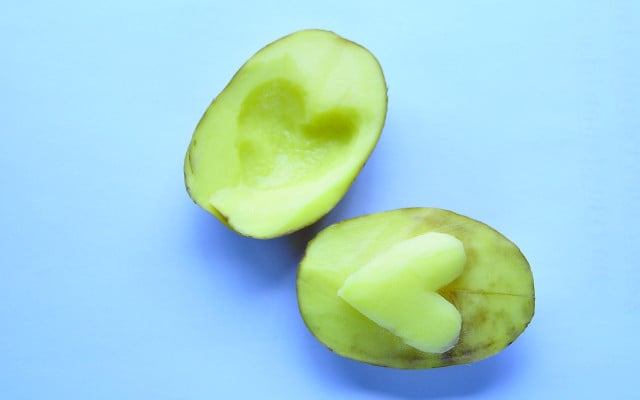
- Cut away an inch of the potato around the cookie cutter (see photo).
- Remove the cookie cutter. The design will now stand out clearly from the rest of the potato.
This method works best for younger children. School-aged children can use the cookie cutters to make potato stamps on their own, and with a little help from you, older kids can also make stencils:
- Draw the design you want to use for the potato stamp on a piece of cardboard.
- Cut out the shape.
- Place the template on the cut surface of the potato.
- Remove the potato around the shape with a sharp knife.
Allow older kids to be creative, and let them freestyle if they want to!
Tip: Wash the cut remains of the potatoes and use them for soup, or roast them. This helps avoid unnecessary food waste!
Using Your Potato Print


And now, the fun part. Here’s how potato printing works:
- Set out the material you want to print on.
- Use newspaper to dab the surface of the potato stamp, to make sure that it’s dry.
- Apply the paint liberally to the stamp with a paintbrush, or dip it straight into the paint.
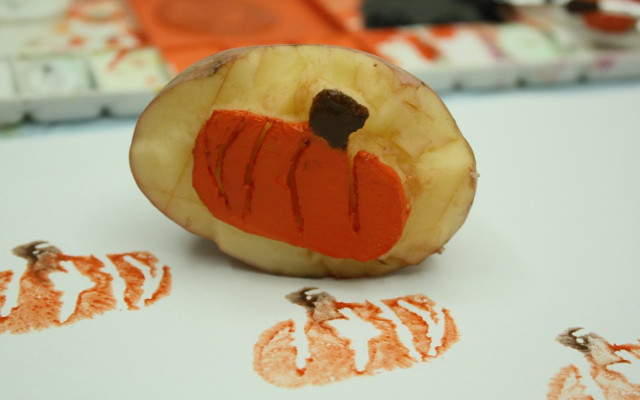
- Press the potato stamp as evenly as possible onto the paper or fabric.
- Lift the stamp straight up again so that the shape doesn’t smudge.
The following tips may help:
- Test your stamp on a piece of paper before you start your potato printing project.
- Make sure you have plenty of ‘ink’ or paint on the stamp before printing.
- If you want to use several different colors with one stamp, clean the potato under running water, then dab the potato stamp dry before starting with the next color.
Potato Stamp Craft Ideas
With potato printing, you can create beautiful crafts with your kids and make fun memories at the same time. Here are some ideas for how to use your potato stamps:
- Holiday cards
- Birthday cards
- Party invitations
- Homemade wrapping paper
- Canvas bags, for plastic-free shopping
- T-shirt printing
- Tea towels
Children can also decorate the walls of their bedrooms or playrooms with potato stamps and wall paint.
This article has been translated from German by Karen Stankiewicz. You can view the original here: Kartoffeldruck: Eine einfache Anleitung für Kinder
** Links to retailers marked with ** or underlined orange are partially partner links: If you buy here, you actively support Utopia.org, because we will receive a small part of the sales proceeds. More info.Do you like this post?


