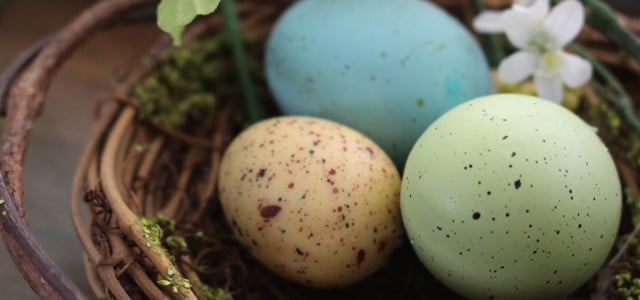
Ditch the artificial dyes and go eco-friendly with organic, natural egg dye using vegetables, fruits and spices that provide astonishingly vivid colors while remaining gentle on the environment.
Transform your Easter eggs into stunning works of art without relying on synthetic dyes! The secret lies in the power of nature, where ingredients like beets, turmeric and other everyday pantry items can create vibrant, eye-catching colors. By choosing natural egg dye, you’ll avoid the unnecessary plastic packaging that comes with pre-colored eggs and store-bought dyes and embrace a sustainable alternative that’s kinder to our planet.
So why not give this eco-friendly option a go this year? Crafting natural Easter egg dyes from ingredients found in your own home is incredibly easy and rewarding, making it the perfect Easter activity for the whole family to enjoy.
Interested in learning more about natural dyes? Check out 10 Easy Natural Dyes for Fabric (incl. Viscose & Linen) and How to Make Natural Food Dyes.
Preparing Your Eggs For Dye

Before you begin dyeing, ensure your eggs are clean and free of any dirt or residue. Gently wash them with mild soap and water, then boil them in a large pot until they’re fully cooked. To prevent cracking, bring the water to a rolling boil and then lower the heat to maintain a gentle simmer. Once cooked, allow the eggs to cool before proceeding with your natural Easter egg dyes.
Read on: How to Make Homemade Playdough: An Easy DIY Recipe
Creating Natural Egg Dyes from Organic Materials
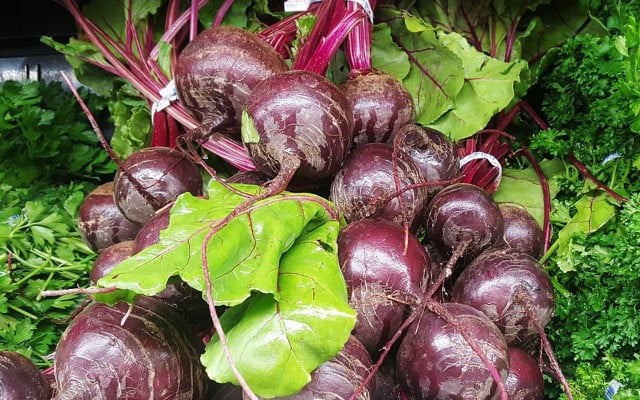


For your natural Easter egg dyes, you can use foods like beetroot, turmeric, birch leaves, spinach, blueberries and onion leaves.
- Red/Pink: Boil chopped beets in water for 20-30 minutes, then strain the liquid into a bowl. Mix in a tablespoon of vinegar for every cup of beet juice.
- Gold: Combine 2 tablespoons of turmeric powder with 1 cup of boiling water, stirring until fully dissolved. Add 1 tablespoon of vinegar to the mixture.
- Yellow: Boil four cups of water with a large handful of birch leaves for 10 minutes. This will create a light yellow dye. Add 1 tablespoon of vinegar for better absorption.
- Blue: Simmer chopped red cabbage in water for 20-30 minutes, then strain the liquid into a bowl. Mix in a tablespoon of vinegar for every cup of cabbage juice.
- Green: Blend spinach leaves with a small amount of water, then strain the liquid into a bowl. Add a tablespoon of vinegar for every cup of spinach juice.
- Violet: Boil one and a half tablespoons of dried blueberries in two cups of water for 10 minutes to create a violet Easter egg dye. Add one tablespoon of vinegar.
- Brown: To turn your eggs a deep golden brown, add a handful of onion skins to two cups of water and boil for 20 minutes. Add one tablespoon of vinegar. Dyeing Easter eggs naturally with onion peels is also a great way to reuse vegetable scraps and reduce food waste.
Why add vinegar? We recommend at least a spoonful of vinegar to each natural dye concoction before adding the eggs because it helps them absorb the colors better.
Remember to experiment with other fruits, vegetables and spices to create a diverse range of colors!
Coloring and Cooking Your Easter Eggs
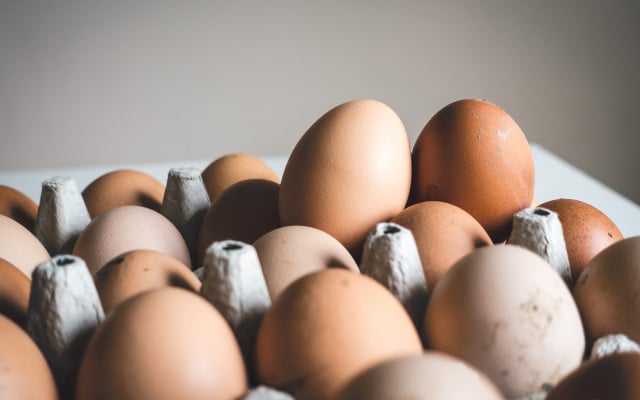


Now that you’ve prepared your natural dyes, it’s time to let your eggs soak in the vibrant colors. Submerge each egg in the desired dye, leaving them to soak for a minimum of 30 minutes. The longer the eggs soak, the more intense the color will be. For best results, use stainless steel or glass containers to avoid staining your cookware.
Patterns, Techniques and Finishing Touches
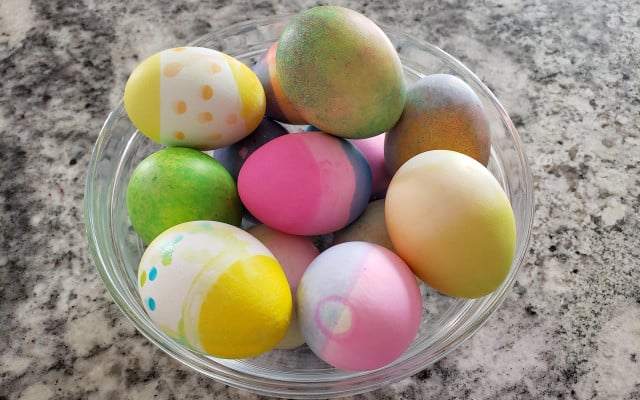


Add a touch of flair to your homemade Easter eggs with these simple techniques:
- Marbling: Lightly coat the egg with oil before submerging it in the dye. The oil will create a marbled effect as it repels the dye in certain areas.
- Ombre: Gradually dip the egg into the dye, holding it at different depths for varying lengths of time. This results in a beautiful gradient effect.
- Artistic Patterns: Wrap rubber bands, string or small leaves around the egg before dyeing. Once the dye sets, remove the materials to reveal intriguing patterns.
Once you’ve achieved the desired colors and effects, gently pat the eggs dry with a towel or sustainable paper towel alternative and let them air dry completely.
How to Dye Eggs With a Natural Leaf Pattern
Take your Easter egg decorations to the next level: Use leaves to create beautiful patterns.
To start, wash and dry raw eggs. Then, carefully wet some clover or other small leaves and lay the wet sides onto your eggs. Carefully press the leaves into place so that they stick well.
Knot one end of a four-inch nylon stocking and carefully slide the stocking over the egg. Hold the leaf in place with a finger to keep it in place. Stretch the stocking tight, smooth it out, and knot the second end shut tightly around the egg.
Place the egg in the water containing your natural egg dye and boil for 10 minutes. Once it’s cooked, remove it from the liquid and blow dry it on the side with the leaf.
Finally, remove the stocking and peel off the leaf. Voila! Your very own leaf-patterned Easter egg!
Let Your Easter Eggs Shine
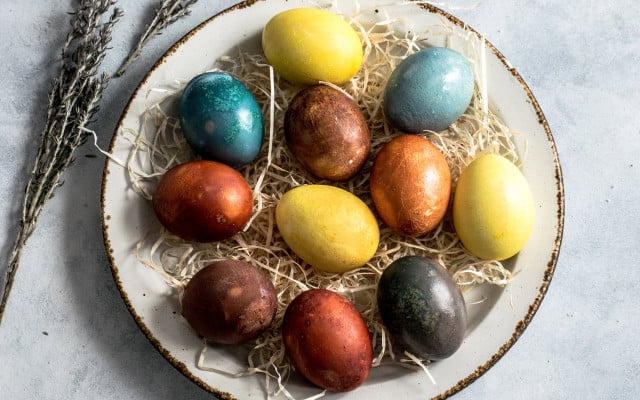


When you’re finished, rub a couple of drops of vegetable oil into the shell for shine.
Remember: When buying eggs for dyeing, try to purchase organic whenever possible. Ready-to-use plant-based dyes are also available at your local organic grocery store. These natural dyes are just as effective as their synthetic counterparts without harming the environment or your health.
** Links to retailers marked with ** or underlined orange are partially partner links: If you buy here, you actively support Utopia.org, because we will receive a small part of the sales proceeds. More info.Do you like this post?


