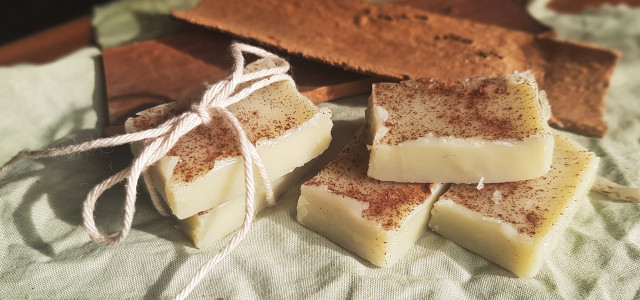
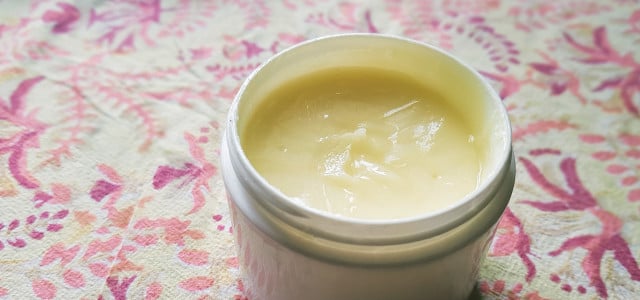
Homemade lotion bars are a great way to ensure your skin gets all the hydration and nourishment it needs, without costing the earth. Follow this lotion bar recipe to make your own using just three ingredients.
Lotion bars may look like soap, however their use is quite different. Many are made using a combination of butters, oils, and waxes, which together help to moisturize and protect the skin from becoming even dryer.
To these three base ingredients, you can add natural essential oils for their healing properties and delightful fragrances. We always recommend using natural and responsibly sourced essential oils.
Since this lotion bar recipe calls for beeswax, it is not vegan. However, it may be possible to use other waxes as a substitute. This recipe uses ethically sourced and locally produced beeswax because it is a natural product which sets quite hard, therefore making the lotion bar last much longer. This being said, don’t be afraid to experiment with the waxes you have on hand.
Lotion bars are also extremely rich and are therefore may be useful during the colder months when your skin is far more susceptible to dryness. They can be used on pretty much any area of the body, including lips and feet, however you may want to use separate bars for them!
Lotion Bar Recipe
Ingredients:
- ½ cup organic beeswax pellets or solid beeswax, grated
- ½ cup organic cocoa butter
- ¼ cup organic coconut oil
- 10-15 drops natural essential oil (optional)
- Decoration for the top (optional)
Materials:
- Grater if using solid beeswax
- Sauce pan and heatproof bowl
- Spatula
- Ice cube tray or DIY soap mold
1. Warm the Wax, Butter, and Oil


(Foto: Annie Granger / Utopia)
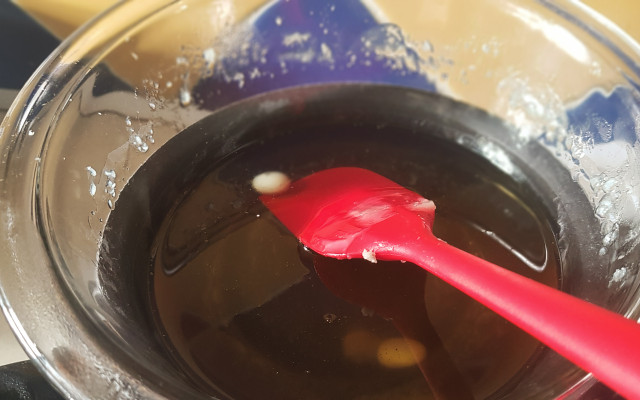
Place the beeswax, cocoa butter, and coconut oil in the heatproof bowl and warm over a low heat. You don’t want the water on the bottom to boil. Gently heat while stirring continually until it’s all melted and the liquid is completely clear.
2. Remove From Heat
Place the bowl on a heatproof mat. Let cool slightly until it’s no longer hot to the touch, but still warm.
3. Mix in Essential Oil (Optional)


(Foto: Annie Granger / Utopia)
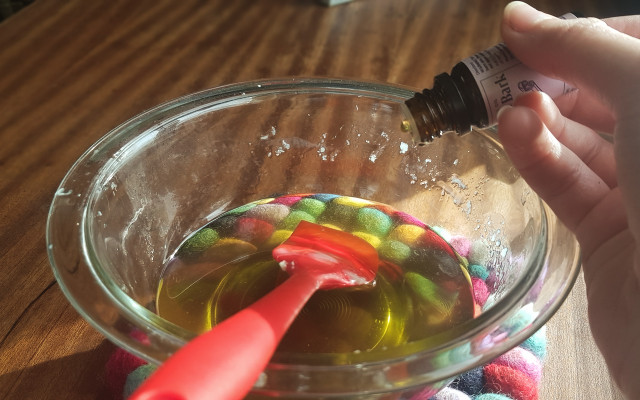
Deciding which essential oil you will use can change the effects of your lotion. In this example, we have chosen to use a natural cinnamon bark essential oil, as there is some evidence to suggest that cinnamon bark oil can be used to help fight inflammation.
4. Pour into Mold
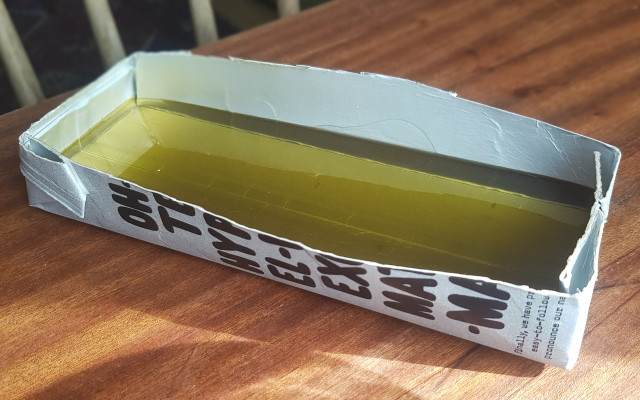


(Foto: Annie Granger / Utopia)
Pour your lotion in the mold before it loses any transparency. This will help you achieve a smooth and even textured finish.
Tip: You can make a quick DIY mold for your lotion out of just about anything. As long as it’s sturdy enough to hold the shape of your bar and flexible enough to allow the lotion bar to be easily popped out – try it. Here we’ve used an old oat milk carton, washed and cut in half.
5. Add Decoration (Optional)
Let your lotion bar cool until it just starts to turn opaque and add the decoration if using. It’s a good idea to use a decoration which matches the scent. In the example, we’ve used a natural cinnamon bark essential oil paired with a sprinkling of powdered cinnamon on top.
6. Cut Your Bars
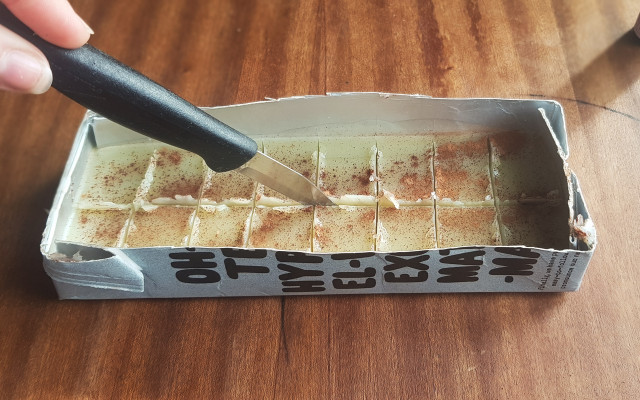


(Foto: Annie Granger / Utopia)
It’s far easier to cut your lotion bars when they’re not yet set. If you’re using pre-formed molds or an ice cube tray, you can skip this step.
7. Let Rest for 1 Hour
You may not need to wait as long as this, but it’s a good idea to ensure your lotion bars are fully set before you handle them.
8. Remove from Mold
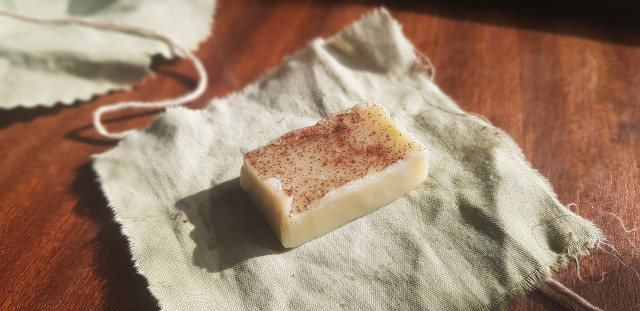


(Foto: Annie Granger / Utopia)
Once your lotion bars are no longer even slightly warm to the touch, pop them out of their mold, and store in a cool place until required.
Tip: Wrap up your lotion bars in some nice scrap fabric using the furoshiki method for a thoughtful little eco-friendly gift!
Read on:
- All-Natural Homemade Lotion Recipe That You Need to Try
- Tutorial: Natural DIY Body Wash for Beginners
- How to Exfoliate Skin Naturally at Home
Do you like this post?


