Salt dough ornaments are a fun project — especially for those who’ve never grown up. With our quick and easy salt dough recipe, you can shape, bake, and decorate unique art pieces. Let’s get to work!
For those looking for a quick and easy craft idea for Christmas: You can make beautiful decorations with these salt dough ornaments. We show you how to make these from just three ingredients, just follow the instructions below:
Step 1: Mix all Ingredients

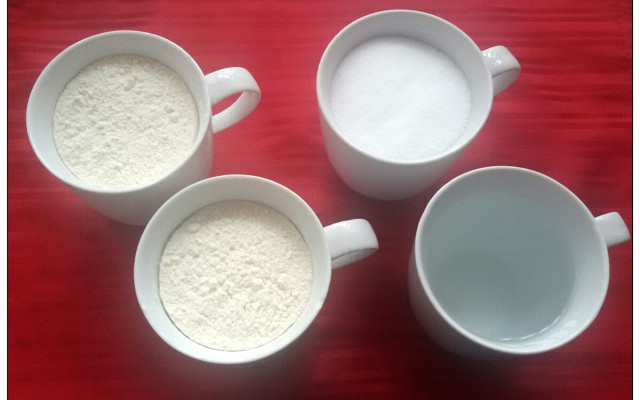
The first step to creating salt dough ornaments is to combine three simple ingredients you probably already have at home: Flour, salt, and water are combined at a 2:1:1 ratio. This makes it easy to make larger or smaller batches as desired. You can start by using the following ingredients:
- 2 cups of flour
- 1 cup of salt
- 1 cup of water
Tip: To make the dough even smoother and easier to knead, you can substitute half a cup of cornstarch for the same amount of flour and add 2 tablespoons of oil.
Instructions:
- Mix the flour and salt in a bowl, then add the water.
- Stir the ingredients with a spoon until a smooth dough has formed.
- Knead the salt dough with your fingers. If the dough sticks to your hands, add a dash of flour. After kneading, the salt dough is ready to be molded into shape.
Tip: While the salt dough can be colored with spices or other natural dyes before being shaped, the colors will lose some brilliance when baked. For more vibrant colors, paint the salt dough ornaments after baking instead.
Step 2: Shape Your Salt Dough


You can get creative in shaping your dough. The salt dough recipe is great for:
Holiday Salt Dough Ornaments:
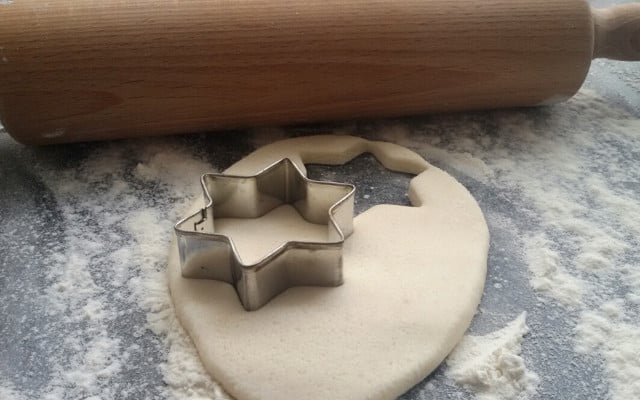
- Lightly cover your table or counter with flour, then use a rolling pin to flatten the dough until it is about a quarter-inch thick.
- Use cookie cutters to cut out the individual ornaments, then place them onto a baking tray with the lightly-floured side down.
- Before baking, skewer a hole through the ornament so you can thread and hang it later.
- Make sure the hole is large enough and far from the edge of the salt dough ornament. Once the dough is dry, it is difficult to make changes without damaging your work.
Forms and Figures:
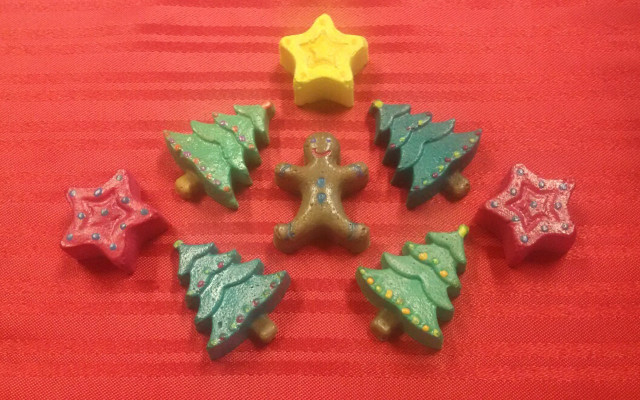
Silicone baking pans with different motifs can shape great table decorations or play figures for children. Carefully press the dough into your mold to fill it. Cut or gently tear away any excess.
Handprints and Footprints:
- Lightly cover your table or counter with flour.
- Roll out a large piece of salt dough until it is about ⅜ in. thick and cut whichever shape you like.
- Press a hand/foot into the dough until the impression is visible.
- If you want to hang the impression later, drill a hole in it as well.
Step 3: Dry or Bake Your Ornaments Under Low Heat


After using our salt dough recipe to create your uniquely designed ornaments, they need to dry. Salt dough quickly cracks or blisters under high heat. Instead of baking your dough, you can allow it to air-dry for several days near the radiator or in a similarly warm place. This also saves energy.
However, if you are in a hurry, you can bake half-inch thick salt dough ornaments as follows:
- Begin by baking your dough for 30 minutes at 140°F
- Increase the heat to 212°F for 30 minutes.
- Increase the heat to 250°F for 2 hours or until the center of the underside has hardened.
Step 4: Paint and Decorate Your Ornaments and Figures


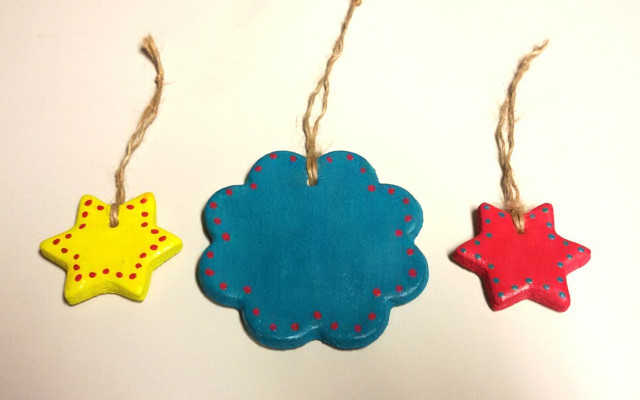
After your salt dough has dried and solidified, you can paint and decorate your ornaments. Various paints are suitable for this. For the figures pictured, we used watercolors with a strong emphasis on the pigment and as little water as possible. To get a rich color, you will need to do at least two coats. When you have finished painting your salt dough ornaments, they should again be allowed to dry in a warm place.
Since the salt dough absorbs water from the air over time, it must be coated with a clear lacquer (water-based or vegetable oil-based) to make it more durable. Make sure any paint or lacquer you use is suitable for children’s toys.
If you liked the salt dough ornaments, give our other creative Christmas art projects a try:
- How to Make a Paper Christmas Star
- Homemade Playdough
- Homemade Candles from Leftover Wax
- How to Make a Bubble Solution For Kids
Read More:
- Eco-Friendly Gifts: 10 Last-Minute Gift Ideas
- 10 Everyday Green Living Ideas: Sustainability on a Shoestring Budget
- Homemade Applesauce: Easy Sugar-Free Recipe
Do you like this post?


